Follow Me On Social Media!

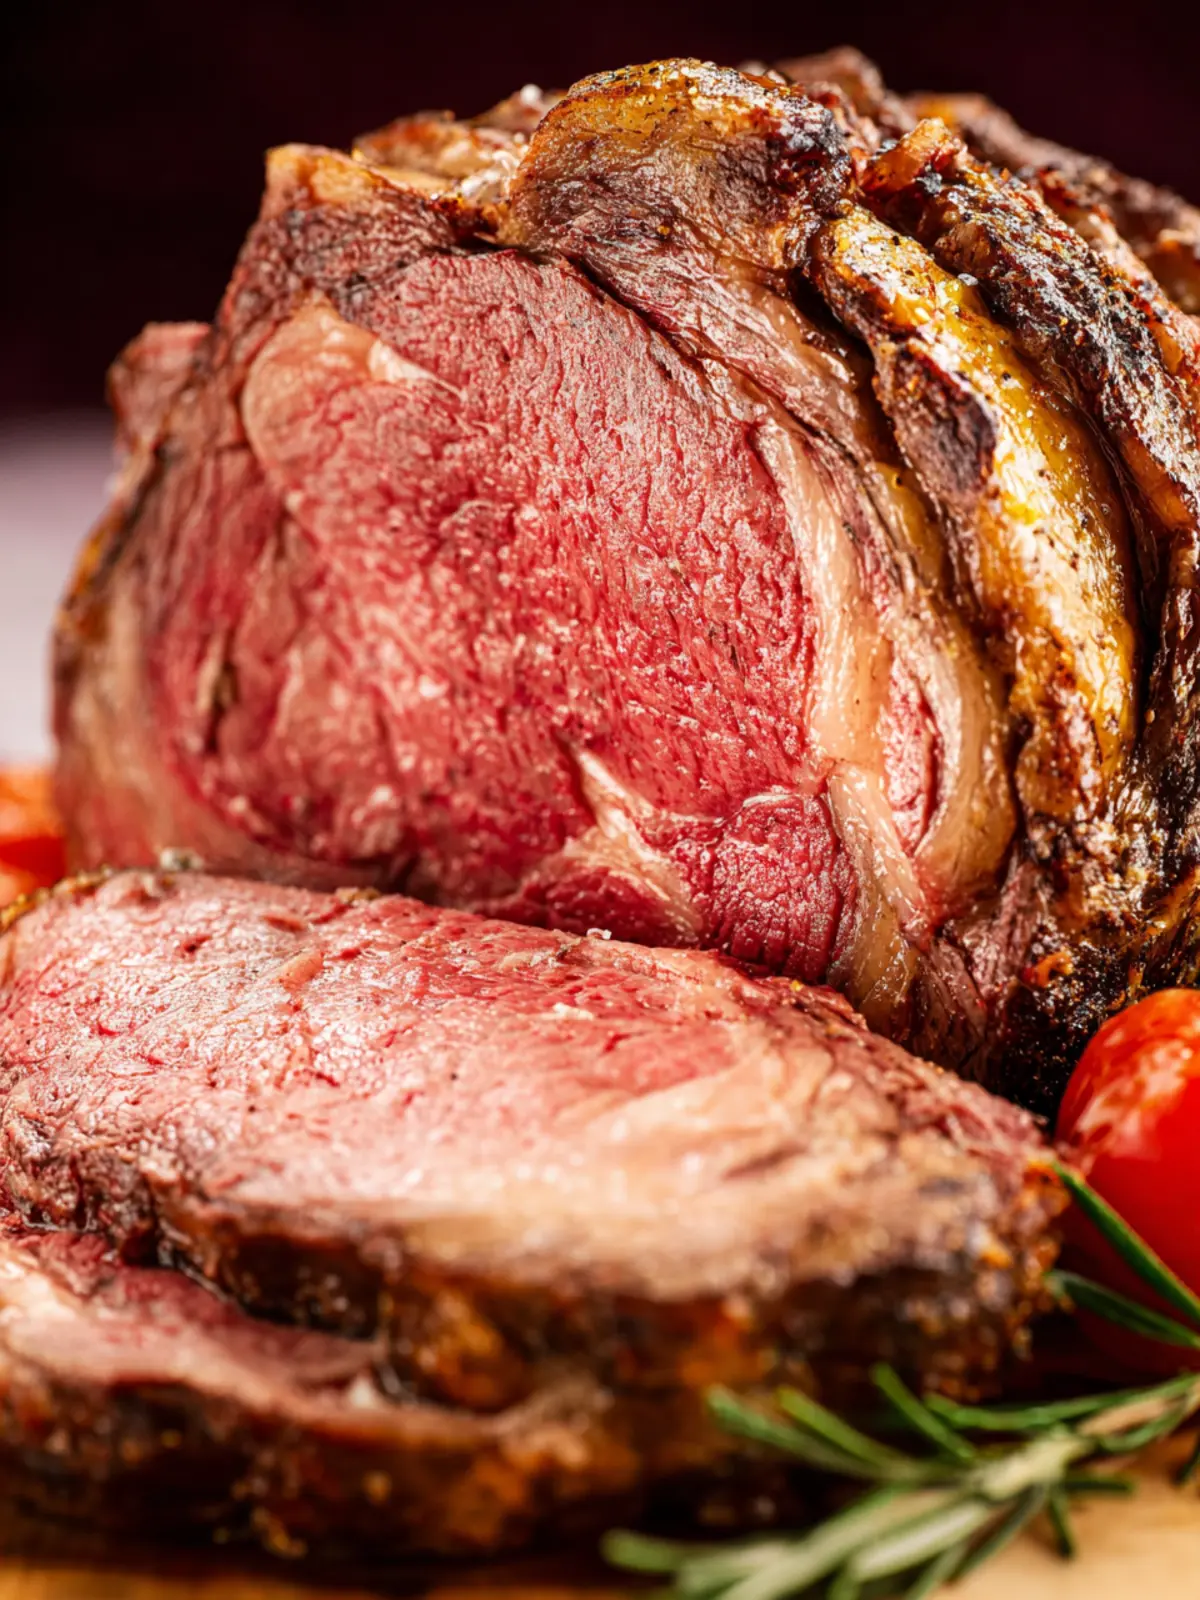
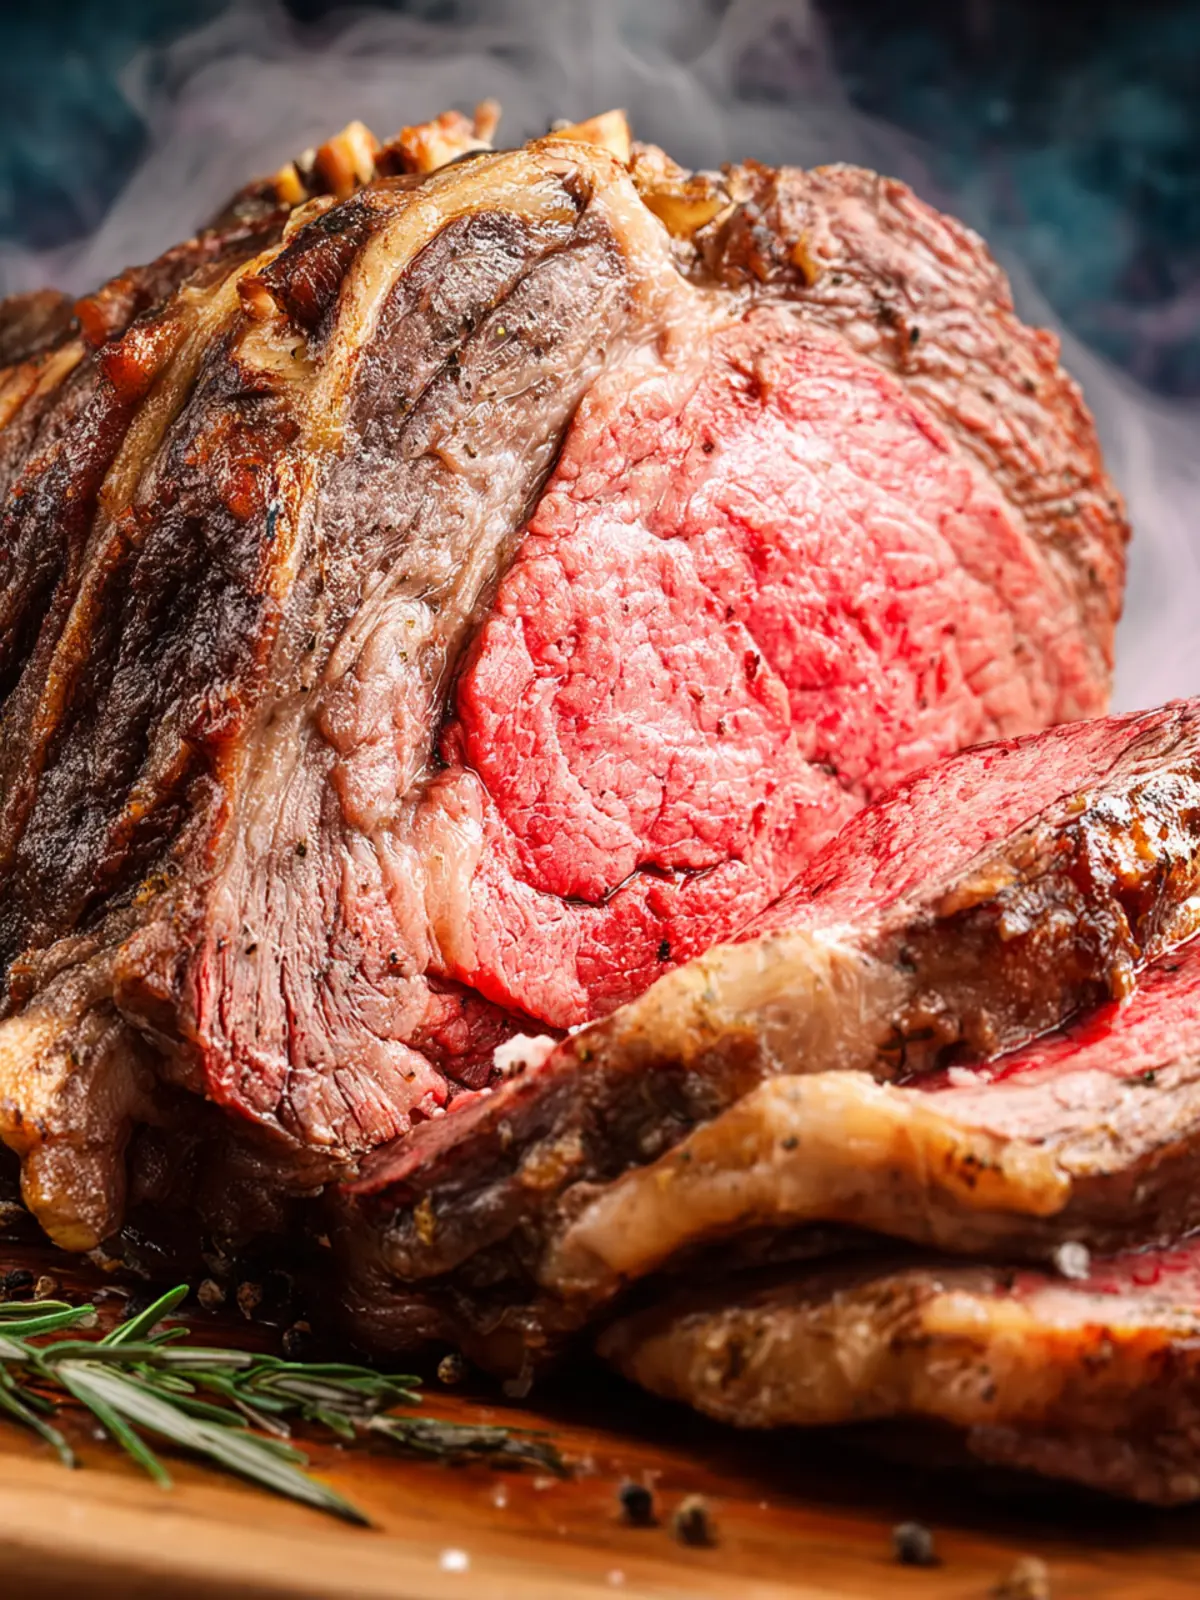
Reverse Sear Prime Rib: Juicy Perfection for Any Feast
Introduction to Reverse Sear Prime Rib
Imagine a culinary delight that elevates your dining experience to a whole new level: reverse sear prime rib. This method transforms a classic cut of beef into a tender, juicy masterpiece with a beautifully caramelized crust. The reverse sear technique is more than just a cooking method; it’s a way to enhance the natural flavors and textures of the meat, ensuring that each bite is truly unforgettable. Whether it’s a holiday gathering or a cozy weekend dinner, mastering this method will surely impress your guests and leave them raving about your cooking.
What makes reverse sear prime rib so exceptional? The approach consists of slow cooking the roast at a low temperature before finishing it off with a high-heat sear. This process allows the meat to cook evenly, minimizing the risk of overcooking. The result? A perfectly pink, tender interior and an irresistible crust that’ll make you wonder why you ever cooked any other way.
Another unique aspect is the way the flavors develop throughout the cooking process. As the prime rib rests in the oven, it slowly draws in the seasoning, locking in deep, rich flavors that are hard to replicate with traditional methods. Plus, the impressive visual of a beautifully seared crust will steal the show at any dinner table. When you pull that golden-brown roast from the oven, you’ll feel like a culinary artist unveiling their masterpiece.
So, whether you’re planning a special occasion or simply want to indulge in a gourmet meal at home, trying out reverse sear prime rib is an adventure worth embarking on. Gather your ingredients, roll up your sleeves, and get ready to impress not just your taste buds but also those of your loved ones. The joy of savoring this decadent dish starts with understanding the technique and ends with the satisfaction of a job well done.
Key Ingredients for Reverse Sear Prime Rib
Reverse sear prime rib is a culinary experience that transforms a noble cut of meat into a meltingly tender masterpiece. The secret to that stunning result lies in selecting high-quality ingredients to elevate your dish.
-
Prime Rib Roast: Start with a well-marbled prime rib roast. The marbling not only adds flavor but ensures a juicy, tender bite. Prime is the highest grade for a reason—it offers a depth of flavor that lower grades simply can’t match.
-
Kosher Salt: This is key for seasoning. Kosher salt draws out moisture, allowing the meat to absorb flavor for a beautifully seasoned crust. It’s gentle on the surface, preventing oversalting.
-
Fresh Herbs: Ingredients like thyme and rosemary add a fragrant touch. These herbs pair beautifully with beef, enhancing the overall flavor profile.
-
Black Pepper: Freshly cracked black pepper brings a hint of spice, balancing the rich flavors of the meat. Don’t skip this step!
-
Olive Oil: A drizzle of high-quality olive oil not only helps the seasoning adhere but also promotes a golden, crusty exterior when it’s time to sear.
With these key ingredients at your disposal, you’re well on your way to creating a stunning reverse sear prime rib that will leave everyone asking for seconds!
Why You’ll Love This Reverse Sear Prime Rib
A perfect dinner centerpiece, the reverse sear prime rib promises an unforgettable culinary experience that’s sure to impress your guests and elevate your dinner game. Imagine the moment when the tantalizing aroma fills your kitchen, drawing everyone to the table in anticipation. This method allows you to achieve that restaurant-quality crust while maintaining a juicy, perfectly cooked interior—every bite is a delight!
What makes this recipe truly special?
-
Unmatched Flavor: The reverse sear method infuses the prime rib with deep flavors. By slow-roasting first, the meat retains its juiciness, while finishing with a sear gives it that beautiful, savory crust.
-
Consistent Cooking: No more guessing if your meat is done. This technique ensures even cooking from edge to edge, reducing the risk of an overcooked exterior and undercooked center.
-
Simple and Elegant: Impress your friends during a weekend gathering without spending all day in the kitchen. The reverse sear method allows for prep ahead of time, offering you the opportunity to socialize while dinner cooks itself.
These elements come together to create a reverse sear prime rib that’s not just a meal but a memorable culinary moment to share with those you love.
Tips for Preparing a Perfect Reverse Sear Prime Rib
Crafting a reverse sear prime rib is an art form, blending patience and skill. Picture this: a succulent cut of meat, perfectly cooked to your desired doneness, paired with a beautifully seared crust. Achieving that culinary dream starts with a few key practices.
Choosing the Right Cut
Opt for a quality prime rib that has good marbling. The fat melts during cooking, enhancing flavor and tenderness. Look for a cut with a thick cap of fat for richer taste.
Season Generously
Don’t be stingy with the seasoning! Use a mix of kosher salt and freshly ground black pepper, applying it generously all over the meat. Consider adding garlic powder or herbs for additional depth. Allow it to rest at room temperature for about an hour to absorb those flavors.
Mastering the Cooking Technique
Utilize a meat thermometer to monitor the internal temperature closely. For a medium-rare finish, remove the prime rib from the oven when it reaches about 120°F, as it will continue to cook during the sear. The reverse sear technique gets its charm from this gradual cooking method.
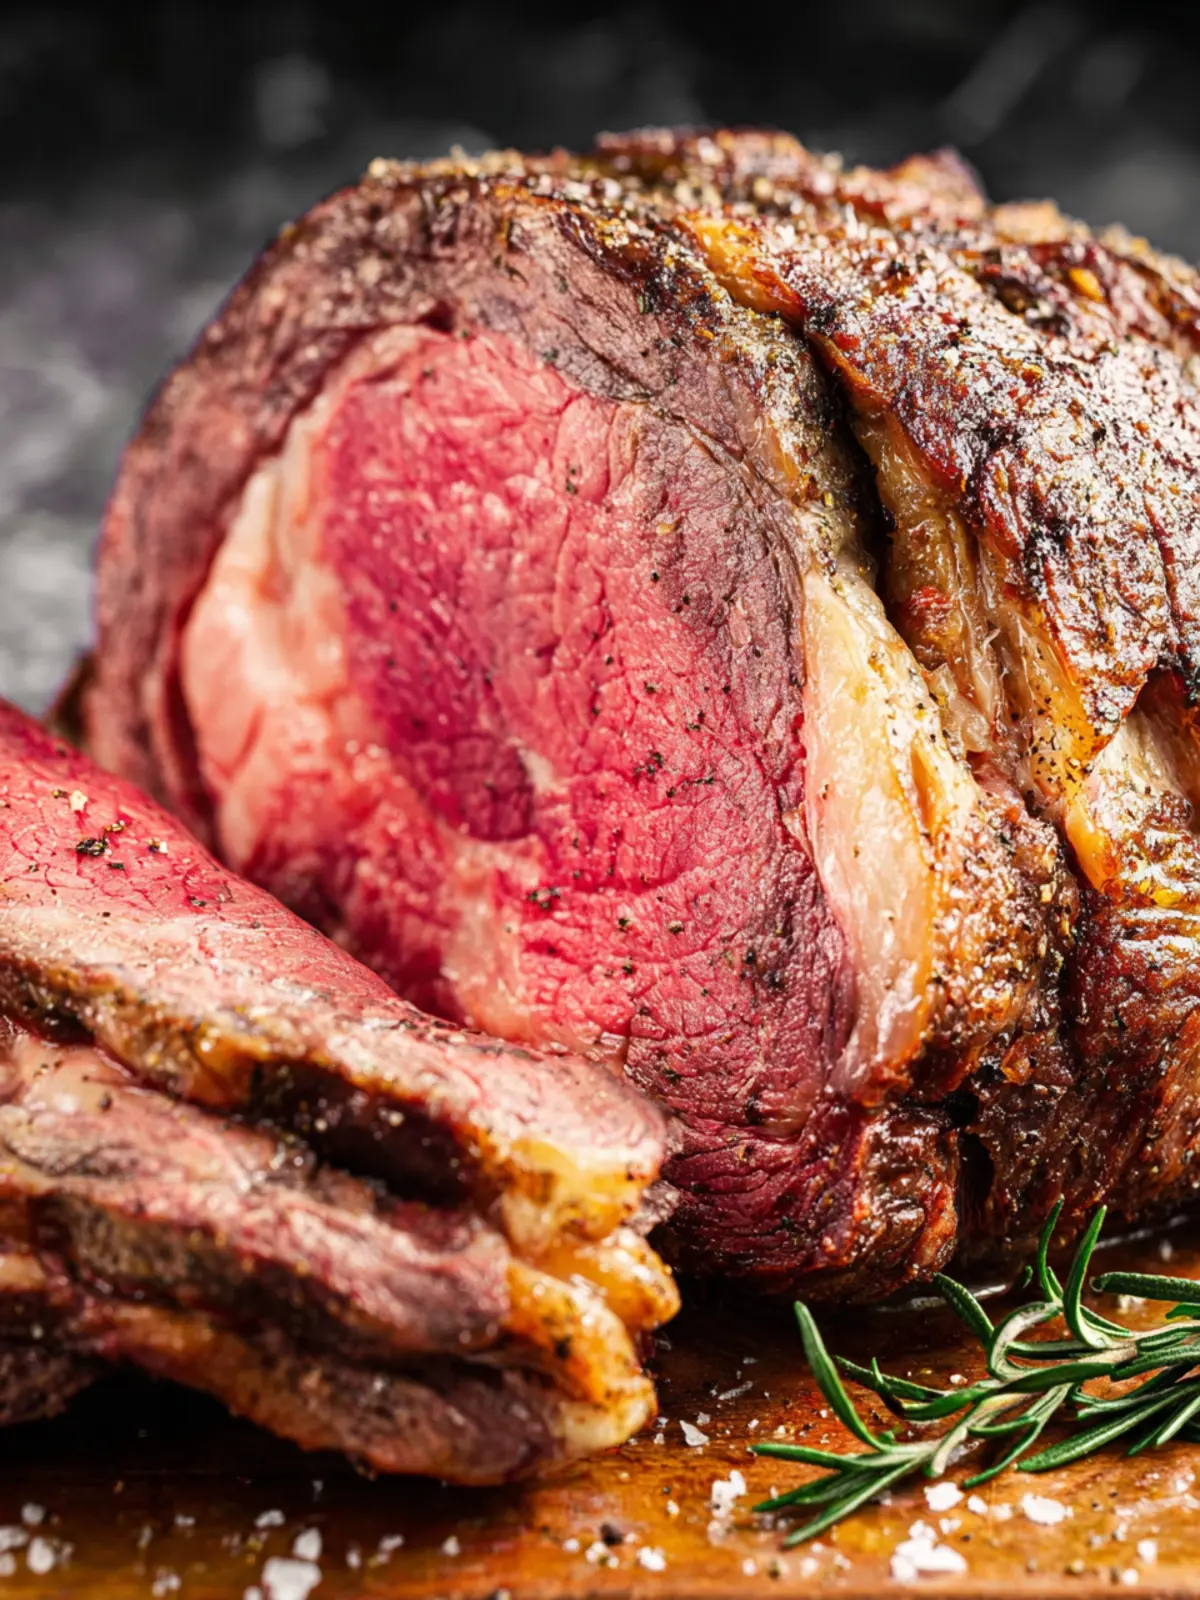
Searing to Perfection
In the final moments, heat a cast-iron skillet until it’s smoking hot. Add a bit of oil, and sear each side of the prime rib until a glorious crust forms. This contrast between the tender, juicy interior and the crunchy exterior is simply irresistible.
By following these tips, you’re on your way to a reverse sear prime rib that will impress friends and family alike!
Time Breakdown for Reverse Sear Prime Rib
When diving into the world of reverse sear prime rib, understanding your timeline is essential for a flawless meal. This method, which combines low and slow cooking with a crispy finish, requires careful planning. Let’s break down the time components for this delicious centerpiece.
Preparation Time
Start with about 30 minutes to prepare your prime rib. This includes seasoning, allowing the meat to come to room temperature, and setting up your cooking equipment.
Cooking Time
The cooking process itself will take approximately 1.5 to 2.5 hours, depending on the size of your roast and desired doneness. The initial low heat phase, followed by the searing phase, works together to achieve that perfect crust.
Total Time
All in all, you’re looking at approximately 2 to 3 hours from start to finish, including preparation and cooking. This timing ensures that your reverse sear prime rib turns out tender, juicy, and full of flavor — perfect for impressing guests or enjoying a cozy dinner at home.
Nutritional Information for Reverse Sear Prime Rib
When indulging in a sumptuous reverse sear prime rib, it’s helpful to know how this delicacy fits into your dietary goals. Not only is this cooking method tailored to achieve that perfect crust, but it’s also about savoring its nutritional benefits.
Calories
A typical serving of reverse sear prime rib contains approximately 600 calories. This count may vary depending on the cut and the cooking fat used, but it’s a hearty option for a special occasion.
Protein
Packed with protein, a serving can deliver over 60 grams. This makes it an excellent choice for those looking to boost their intake, whether you’re a gym enthusiast or just trying to stay full longer.
Sodium
On the sodium front, expect around 300-500 mg per serving, depending on how much salt is used in the seasoning. Keeping an eye on sodium intake is always wise, especially if you’re watching your health.
FAQs about Reverse Sear Prime Rib
Why reverse sear rather than traditional methods?
Choosing to reverse sear prime rib offers a perfect blend of precision and flavor. This method starts by cooking the meat at a low temperature, allowing it to cook evenly throughout before giving it that signature crust. Unlike traditional methods, which can lead to overcooked edges or uneven doneness, reverse searing ensures a juicy interior with that coveted crispy exterior. Plus, you have more control over the cooking process, which means less stress while entertaining guests!
Can I cook an inexpensive cut of beef using this method?
Absolutely! While prime rib is a classic choice for reverse searing, you can use this technique on other cuts of beef. Less expensive cuts, such as chuck roast or sirloin, also benefit from this method. Just keep in mind that they may require a longer cooking time to achieve the same tender results. The even cooking and finishing crust will elevate any cut you choose, making it a win-win in the kitchen.
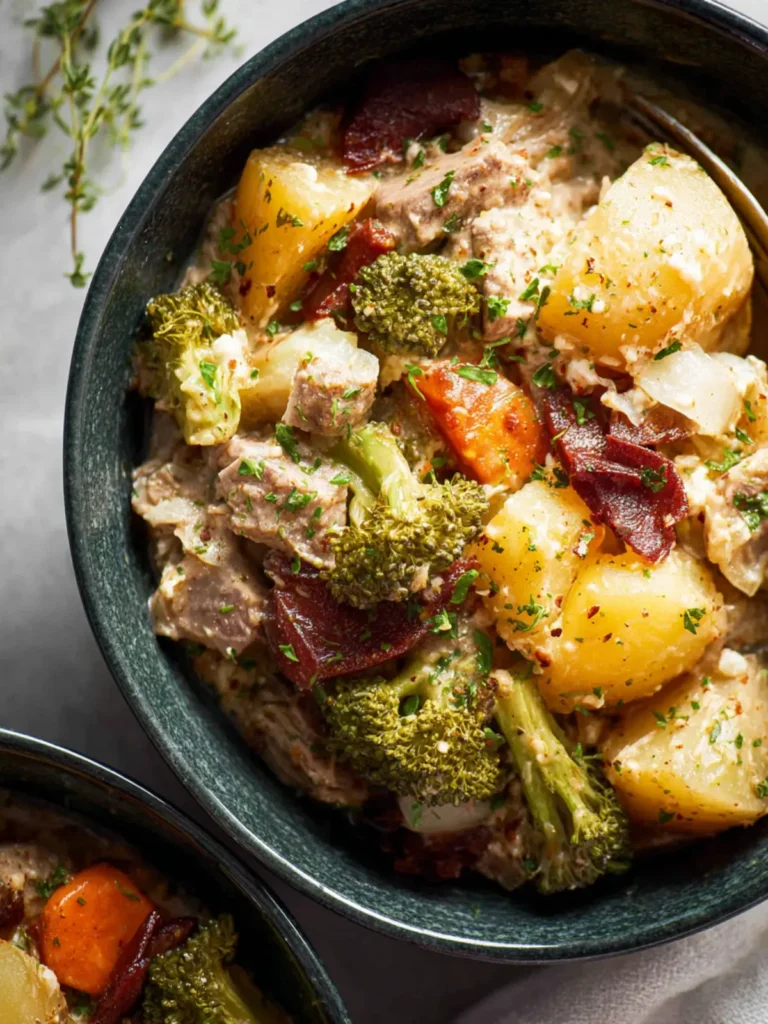
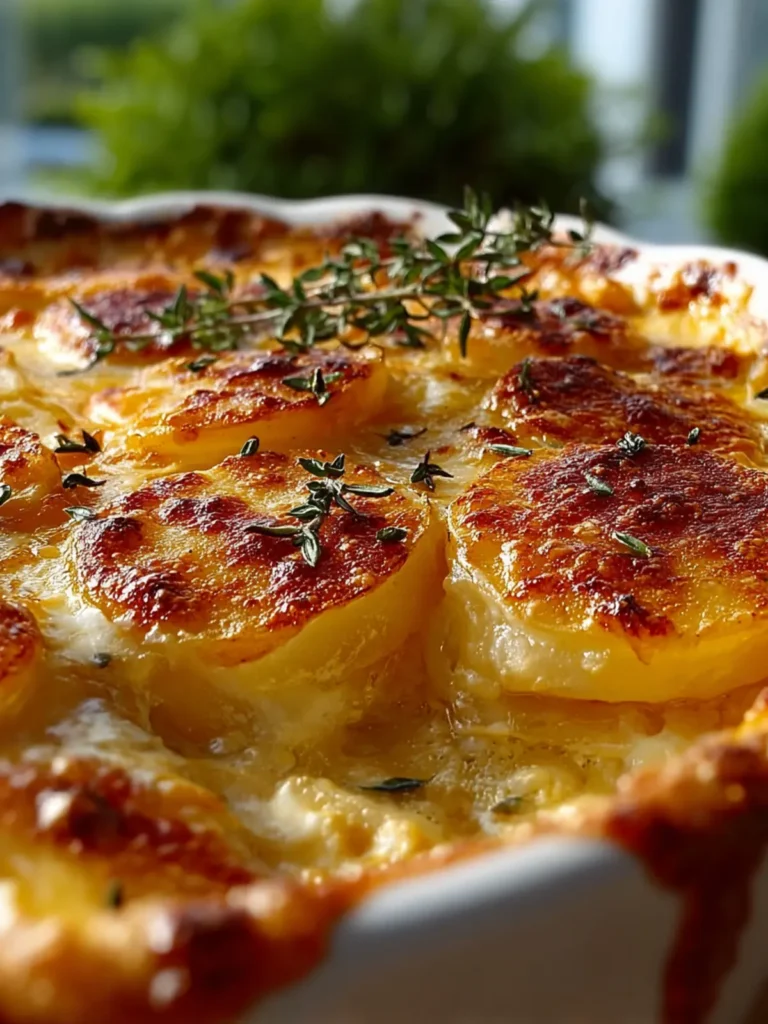
What are some sides that pair well with reverse sear prime rib?
When it comes to sides, the options are endless! Here are a few delicious recommendations:
- Garlic Mashed Potatoes: Creamy and fluffy, they complement the rich flavors of the prime rib.
- Roasted Brussels Sprouts: Their earthy notes offer a nice contrast to the savory meat.
- Caesar Salad: A fresh salad adds a crunchy element and keeps the meal balanced.
- Yorkshire Pudding: A classic choice, perfect for soaking up the juices of your reverse sear prime rib.
These sides will surely make your meal unforgettable, enhancing the overall dining experience!
Conclusion on Reverse Sear Prime Rib
Cooking the reverse sear prime rib is not just a culinary technique; it’s an experience that brings friends and family together around the table. By slowly cooking the prime rib at a low temperature before searing, you ensure that every bite is juicy and packed with flavor—perfect for those special occasions. Whether it’s a holiday dinner or a weekend gathering, this method allows the meat to shine, creating a stunning centerpiece. Embrace this technique and let the magnificent aroma fill your kitchen, inviting everyone to savor a delicious slice of this perfectly cooked prime rib that you crafted with care.
Print
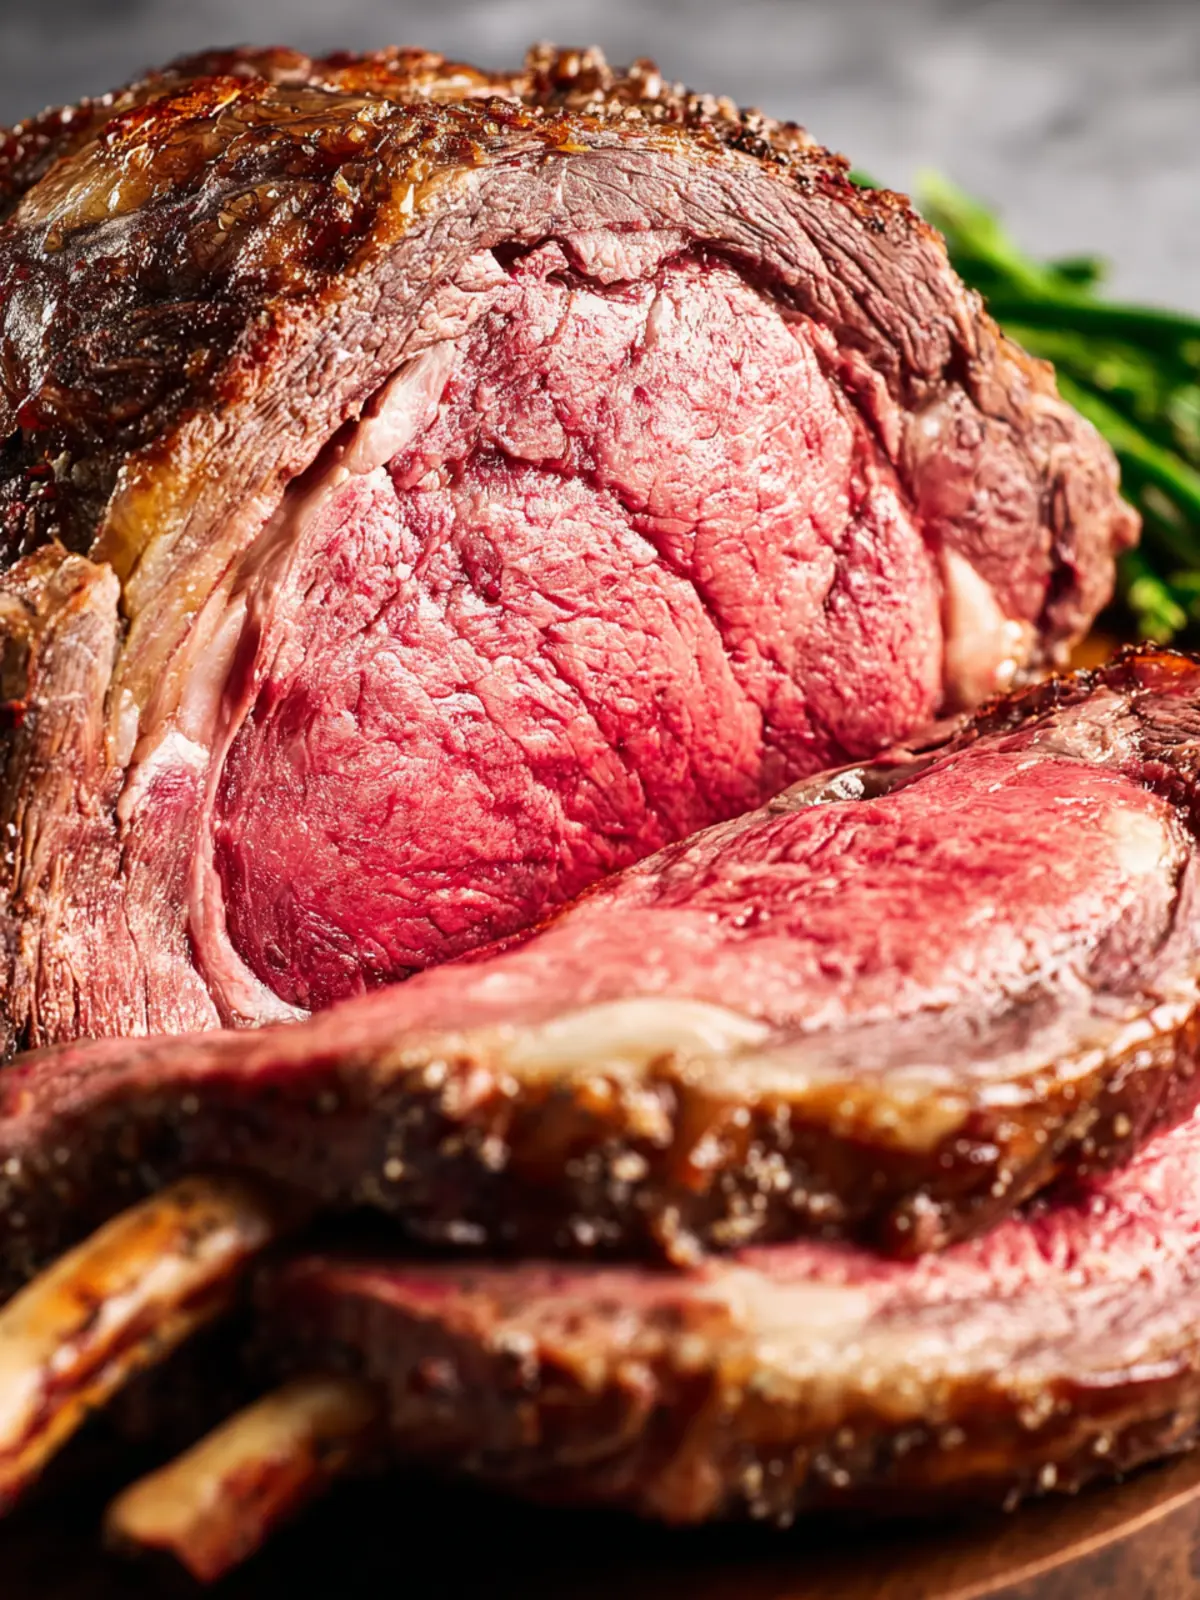
Bone-In Standing Rib Roast
- Total Time: 30 hours
- Yield: 8 servings 1x
- Diet: Carnivore
Description
This juicy bone-in standing rib roast is expertly seasoned and slow-cooked for maximum flavor and tenderness.
Ingredients
Scale
- 1 (6-pound) bone-in standing rib roast (fat trimmed to about 1/2 inch)
- to taste kosher salt
- to taste freshly ground black pepper
- 4 tablespoons unsalted butter (softened)
- to taste fresh rosemary and/or thyme
Instructions
- Before you begin (important timing notes): This recipe is mostly hands-off, but it does need a little planning ahead. Please take a moment to read through the steps so you can give the roast the time it needs. The roast should be prepared 24 hours ahead for the best flavor and texture. Allow it to rest at room temperature for about 2 hours before cooking. Cooking time is approximately 3–4 hours, depending on oven temperature and roast size. Remember, the long rest (30–60 minutes) happens before the final sear, and the final sear is quick (5–10 minutes), followed by a short rest before slicing. If you follow the full 24-hour dry-salting step, plan on about 30 hours from start to serving.
- Seasoning (ideally 24 hours ahead): Generously season the rib roast on all sides with kosher salt. Place the roast on a rack set over a baking sheet and refrigerate loosely covered to allow air circulation so the surface can dry and the salt penetrate deeply into the meat. This step is essential for flavor and for developing a good crust later.
- Preparation before roasting: Remove the roast from the refrigerator around 2 hours before cooking to allow it to come to room temperature. If using the butter option, mix the softened butter with freshly ground black pepper and optional herbs, then slather evenly over the roast. If not using butter, simply season the roast generously with black pepper.
- Prepare for roasting: Preheat the oven to 200°F–225°F. Place the roast fat side up on a roasting rack set in a large roasting pan, or on a wire rack set inside a rimmed baking sheet. Insert a meat thermometer into the thickest center portion of the roast, avoiding the bone.
- Low-temperature slow roast: Place the roast in the oven and roast until the internal temperature reaches your preferred level. For reference: Rare: pull at 120–125°F; Medium-rare: pull at 130°F; Medium: pull at 135°F; USDA recommended minimum: 145°F. Total cook time will typically be 3 to 4 hours, but always rely on temperature, not the clock.
- Resting (critical for juicy meat): Remove the roast from the oven and place it on the counter, tented lightly with foil. Let it rest at room temperature for 30 to 60 minutes to allow juices to redistribute.
- High-temperature searing: Increase the oven temperature to 450-500°F. This step can produce smoke, so take precautions as needed. If excessive fat has collected in the roasting pan, transfer the roast to a clean pan. Once the oven is fully preheated, return the roast to the oven and sear for 5 to 8 minutes, just until a deep brown crust forms.
- Final rest and serving: Remove the roast from the oven and let it rest for a few minutes. Carve into slices and serve immediately.
Notes
- For maximum flavor, allow the roast to dry-salt for the full 24 hours.
- Oven temperatures may vary, so adjust cooking times accordingly.
- Prep Time: 24 hours
- Cook Time: 3-4 hours
- Category: Main Course
- Method: Roasting
- Cuisine: American
Nutrition
- Serving Size: 1 slice
- Calories: 450
- Sugar: 0g
- Sodium: 120mg
- Fat: 33g
- Saturated Fat: 13g
- Unsaturated Fat: 15g
- Trans Fat: 1g
- Carbohydrates: 0g
- Fiber: 0g
- Protein: 38g
- Cholesterol: 115mg