Follow Me On Social Media!

Polar Bear Paws Candy: Irresistibly Sweet Homemade Treats
Introduction to Polar Bear Paws Candy
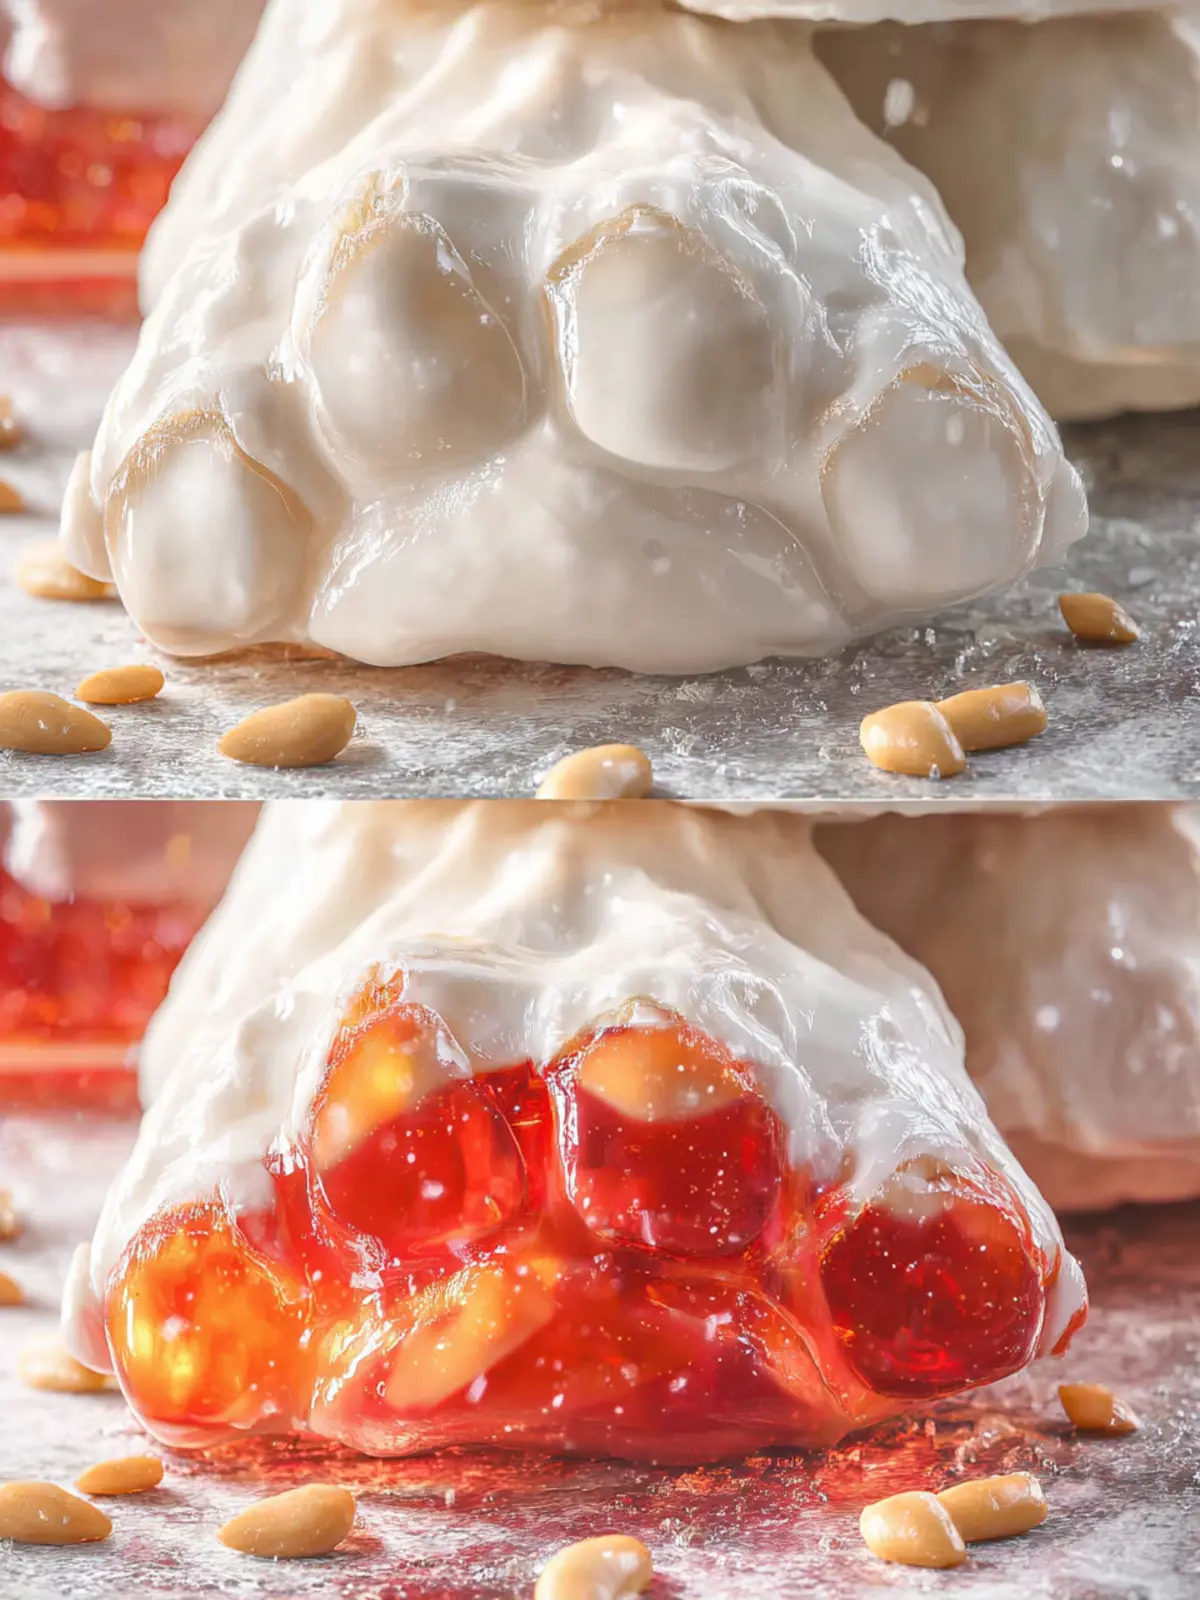
Have you ever dreamed of transforming a cozy night in into a sweet, indulgent experience? Well, that’s exactly what Polar Bear Paws Candy brings to the table! This delightful treat, combining the rich flavors of chocolate and peanut butter, evokes the spirit of winter with its fun, whimsical presentation. Imagine biting into a creamy, crunchy confection that melts in your mouth, all while capturing the essence of fluffy polar bears cavorting on snowy tundras.
What makes Polar Bear Paws Candy so delightful?
The secret lies in the harmony of textures and flavors packed into each delectable morsel. At the base of this recipe, you’ll find crunchy pretzels that lend a satisfying snap, contrasted perfectly by the creamy, rich peanut butter and smooth chocolate coating. The addition of butterscotch chips elevates the sweetness and adds depth, making each piece an adventure for your taste buds. What’s even better is that these candies are a breeze to make—they’re a fantastic way to involve family or friends in the kitchen, turning the preparation into a fun bonding experience!
Imagine yourself standing in the kitchen, the warm aroma of melted chocolate wafting through the air as you craft these delightful confections. Have you ever thought about how homemade treats can spark nostalgia and create lasting memories? After pulling this charming creation out of the fridge, you’ll be greeted with a satisfying snap as you break them apart, revealing the inviting colors of your polar bear paws.
Whether you’re preparing for a holiday gathering or just looking to indulge in a sweet moment at home, this simple yet irresistible candy will surely win hearts. Each bite is a reminder that life is meant to be enjoyed—one sweet moment at a time. So, roll up your sleeves, gather your ingredients, and let’s dive into making Polar Bear Paws Candy!
Key Ingredients for Polar Bear Paws Candy
Crafting polar bear paws candy is a delightful journey that transforms simple ingredients into a sweet treat perfect for sharing. Trust me, once you have a taste, it will become a holiday favorite in your home!
-
Chocolate Chips: Semi-sweet chocolate chips are the star of this recipe, melting down into a luscious coating that really delivers on that indulgent flavor. You can experiment with dark chocolate or even white chocolate if you’re feeling adventurous!
-
Peanut Butter: Smooth peanut butter adds both creaminess and a satisfying nutty flavor. Make sure to choose a good-quality one without added sugars or oils for the best results.
-
Malted Milk Balls: These candies bring a delightful crunch and a unique malted flavor to your polar bear paws candy. They create the perfect contrast to the smooth texture of the chocolate and peanut butter.
-
Miniature Pretzels: Salty and crunchy, the pretzels add a fun twist that balances the sweetness of the candy. They also give that paw-like appearance, adding to the charm of your creation!
-
Powdered Sugar: This ingredient helps create a sticky and sweet base that holds everything together. It also adds a hint of sweetness that elevates the overall flavor profile.
With these key ingredients, you’re well on your way to impressing friends and family with these delicious polar bear paws candy. Happy crafting!
Why You’ll Love This Recipe
Polar bear paws candy isn’t just a sweet treat; it’s a delightful journey back to childhood for many of us. Picture cozy evenings spent around the kitchen table, the air filled with laughter and the mouthwatering scent of chocolate melting down. This recipe encapsulates that nostalgic feeling, merging flavors and textures in a way that creates happiness with each bite.
Here are a few reasons why you’ll adore making polar bear paws candy:
-
Simplicity: With straightforward ingredients like crunchy pretzels, creamy peanut butter, and smooth chocolate, this candy is a breeze to whip up. Even beginner cooks will find joy in the ease of this recipe.
-
Customizable: Whether you prefer milk chocolate, dark chocolate, or a combination, this recipe allows you to personalize it to your taste. Feel free to add sprinkles, nuts, or dried fruit for an extra special touch!
-
Perfect for Any Occasion: Whether it’s a party, a gift for a friend, or just a sweet treat for yourself, these candies fit seamlessly into any context. They bring sweetness to celebrations or simply add a moment of joy to your day.
-
Shareable Joy: Who wouldn’t love receiving a box of homemade polar bear paws candy? They make the perfect gift, allowing you to share a taste of happiness with those you care about.
Let’s dive into making this delightful candy together!
Variations on Polar Bear Paws Candy
The delightful polar bear paws candy brings a cheerful touch to any dessert table, but have you ever thought about changing it up a bit? There are endless possibilities to customize this treat according to your taste and occasion.
Sweet and Nutty Additions
One of my favorite variations involves incorporating nuts into the mix. Adding chopped almonds or pecans gives your polar bear paws candy a delightful crunch that pairs beautifully with the creamy sweetness. If you’re feeling adventurous, try adding a sprinkle of sea salt on top to enhance the flavors even more.
Mix Up the Coatings
While classic white chocolate is a favorite, why not experiment with different types of chocolate? Dark or semi-sweet chocolate provides a rich contrast, while a drizzle of colored candy melts gives a fun and festive look, perfect for holidays or celebrations.
Flavor Infusions
Feeling inspired by seasonal flavors? Infuse your polar bear paws candy with peppermint extract for a refreshing twist during the winter months, or try adding a hint of vanilla for a classic touch. You can also stir in some shredded coconut for a tropical vibe.
Seasonal Swaps
During the different seasons, consider swapping out the graham crackers in your recipe for festive alternatives—like ginger snaps for a cozy autumn treat, or vanilla wafers in summer.
With these fun variations, you can create your own signature take on polar bear paws candy that friends and family will love. Enjoy experimenting and making each batch uniquely yours!
Cooking Tips and Notes for Polar Bear Paws Candy
Making polar bear paws candy is a delightful experience, especially when you keep a few helpful tips in mind to enhance both flavor and texture.
Choose Quality Chocolate
The chocolate coating is crucial in this recipe. Opt for high-quality melting chocolate or chocolate chips for the best taste. Avoid generic brands that can taste waxy or overly sweet. It can make a noticeable difference in your candy.
Perfecting the Peanut Butter Mixture
When mixing the peanut butter and powdered sugar, do so thoroughly. This ensures a smooth texture in your candy mixture. A common tip is to get your hands a little messy; it allows you to feel the consistency and adjust as needed. If it feels too sticky, a pinch of powdered sugar can help.
Patience with the Setup
Let the candy cool completely before slicing. If you’re hurried, the chocolate can be too soft and make a mess. Setting your polar bear paws candy in the refrigerator for a brief time can speed up this process. Just don’t rush—quality takes time!
Experiment with Flavor
Feel free to experiment by adding crushed nuts or coconut flakes into your mixture. It can enhance the overall flavor and texture of your candy. Remember, cooking is all about creativity!
Enjoy the process and share your delicious creations with friends—they’ll certainly be grateful!
Serving Suggestions for Polar Bear Paws Candy
When it comes to enjoying polar bear paws candy, the possibilities are as delightful as the treats themselves. These sweet confections aren’t just a dessert; they can be the centerpiece of any gathering, making them perfect for sharing with friends or family.
Sweet Treats for Special Occasions
- Holiday Celebrations: Consider serving polar bear paws candy at your next holiday party. Their festive look and delicious taste will surely impress guests and become a seasonal favorite.
- Movie Night Snacks: Pair these candies with your favorite flick. They make for a delightful movie night snack, offering a perfect mix of sweetness and crunch.
Unique Presentation Ideas
- Gift Packaging: Treat friends or coworkers to homemade goodness by packaging polar bear paws candy in clear cellophane bags tied with a colorful ribbon. It’s a thoughtful gesture that adds a personal touch.
- Dessert Platter: Create a dessert platter with your candy alongside fruits or other sweets, providing a well-rounded treat option for any gathering.
With these suggestions, you’ll elevate your polar bear paws candy experience, sharing joy and sweetness with others while creating lasting memories.
Time Breakdown for Polar Bear Paws Candy
Understanding the time commitment for making polar bear paws candy can help streamline your preparations. You’ll find that creating these delicious treats isn’t as time-consuming as it seems!
Preparation Time
You’ll need about 15 minutes to gather your ingredients and mix them together, setting the stage for the delightful creation of polar bear paws candy.
Cooling Time
Allow your candy to cool for 30 minutes. This is crucial for achieving the perfect texture and firmness as the chocolate sets up.
Total Time
In total, you’re looking at roughly 45 minutes from start to finish. Perfect for a quick treat that delights friends and family while creating cherished memories in the kitchen!
Nutritional Facts for Polar Bear Paws Candy
Dive into the delightful world of polar bear paws candy and discover a sweet treat that’s as fun to make as it is to enjoy! These adorable confections pack a few nutritional surprises that may catch your interest.
Calories
Each serving of polar bear paws candy contains approximately 150 calories. While they’re not a health food, they’re an excellent way to satisfy your sweet tooth in moderation.
Protein
You’ll find about 2 grams of protein in a serving, thanks to the addition of ingredients like nut butter or chocolate. While not a primary source, every bit counts towards your daily intake!
Sugars
The sugar content stands at around 12 grams per serving. This sweetness will undoubtedly provide that burst of energy you’re looking for in an afternoon snack, but remember to enjoy responsibly!
FAQs about Polar Bear Paws Candy
When it comes to making delightful Polar Bear Paws Candy, you might find yourself with a few questions. Let’s dive into some common queries to help you whip up this sweet treat with confidence!
Can I make Polar Bear Paws Candy ahead of time?
Absolutely! Polar Bear Paws Candy can be made a day or two ahead of your event. In fact, letting them sit allows the flavors to meld and the coating to harden just perfectly. Just keep in mind, if you have little hands eager to help, involve them in the fun of making it but save the tasting for a little later!
How should I store Polar Bear Paws Candy?
To ensure your Polar Bear Paws Candy stays fresh, store them in an airtight container at room temperature. If you prefer them chilled, you can keep them in the fridge, but bring them back to room temperature before serving. This will help maintain their delightful texture and flavors. Make sure to layer them with parchment paper if you’re stacking to avoid any sticking.
Can I use different types of nuts or snacks?
You certainly can! While the original recipe might call for traditional nuts like peanuts or cashews, feel free to mix it up. Almonds, walnuts, or even a chocolate-covered snack can add a unique twist. Just remember, whatever nuts or snacks you choose, make sure they’re finely chopped so they blend well with the candy ingredients.
Now that you have these FAQs covered, you’re all set to create your very own Polar Bear Paws Candy! Enjoy the process and the delicious results.
Conclusion on Polar Bear Paws Candy
In wrapping up this delightful journey into making polar bear paws candy, you’ll find that these treats are not just a dessert; they’re a memorable experience perfect for sharing. Each bite delivers a cozy blend of sweet chocolate and creamy peanut butter, evoking a sense of comfort that warms you from the inside out. Whether you prepare these for a festive gathering or a simple family night, they’re sure to impress. So, gather your ingredients and let the fun begin. Don’t forget to share your delicious results with friends; after all, what’s better than enjoying goodies together?
Print
Chocolate Peanut Caramel Clusters
- Total Time: 1 hour 35 minutes
- Yield: 24 clusters 1x
- Diet: Gluten-Free
Description
Delicious clusters made with soft caramels, roasted peanuts, and coated in vanilla almond bark.
Ingredients
Scale
- 11 ounces soft caramels
- 3 Tablespoons heavy cream
- 1 Tablespoon butter
- 1 1/4 cups roasted peanuts
- 10 ounces vanilla almond bark
- 1 Tablespoon coconut oil
Instructions
- In a medium saucepan, add the unwrapped soft caramels, heavy cream, and butter.
- Place over medium heat and stir frequently until the caramels are fully melted and the mixture is smooth and uniform.
- Remove from the heat. Add the roasted peanuts and stir until they are evenly coated. Allow the mixture to cool for 20–25 minutes, stirring once halfway through to prevent the bottom from setting too quickly.
- Line a baking sheet with parchment paper or a silicone mat. Using a medium cookie scoop (1½ tablespoons), portion the mixture into mounds on the prepared sheet. The cooler the caramel is when scooped, the less the clusters will spread.
- Let the clusters cool completely until firm. To speed this up, place the baking sheet in the refrigerator or freezer. Thanks to my warm kitchen in Florida, I have to refrigerate for at least 1 hour.
- Place the vanilla almond bark and the oil in a microwave-safe bowl. Heat in 20-second intervals, stirring thoroughly after each, until completely melted and smooth.
- Using a fork, dip each cooled cluster into the melted almond bark, letting excess coating drip off, then return it to the lined baking sheet. Once all clusters are coated, refrigerate again briefly if needed until the chocolate is fully set.
Notes
- Cooling time may vary based on room temperature.
- You can store the clusters in an airtight container.
- Prep Time: 15 minutes
- Cook Time: 20 minutes
- Category: Desserts
- Method: Stovetop
- Cuisine: American
Nutrition
- Serving Size: 1 cluster
- Calories: 120
- Sugar: 10g
- Sodium: 50mg
- Fat: 7g
- Saturated Fat: 4g
- Unsaturated Fat: 2g
- Trans Fat: 0g
- Carbohydrates: 14g
- Fiber: 1g
- Protein: 2g
- Cholesterol: 10mg