Follow Me On Social Media!

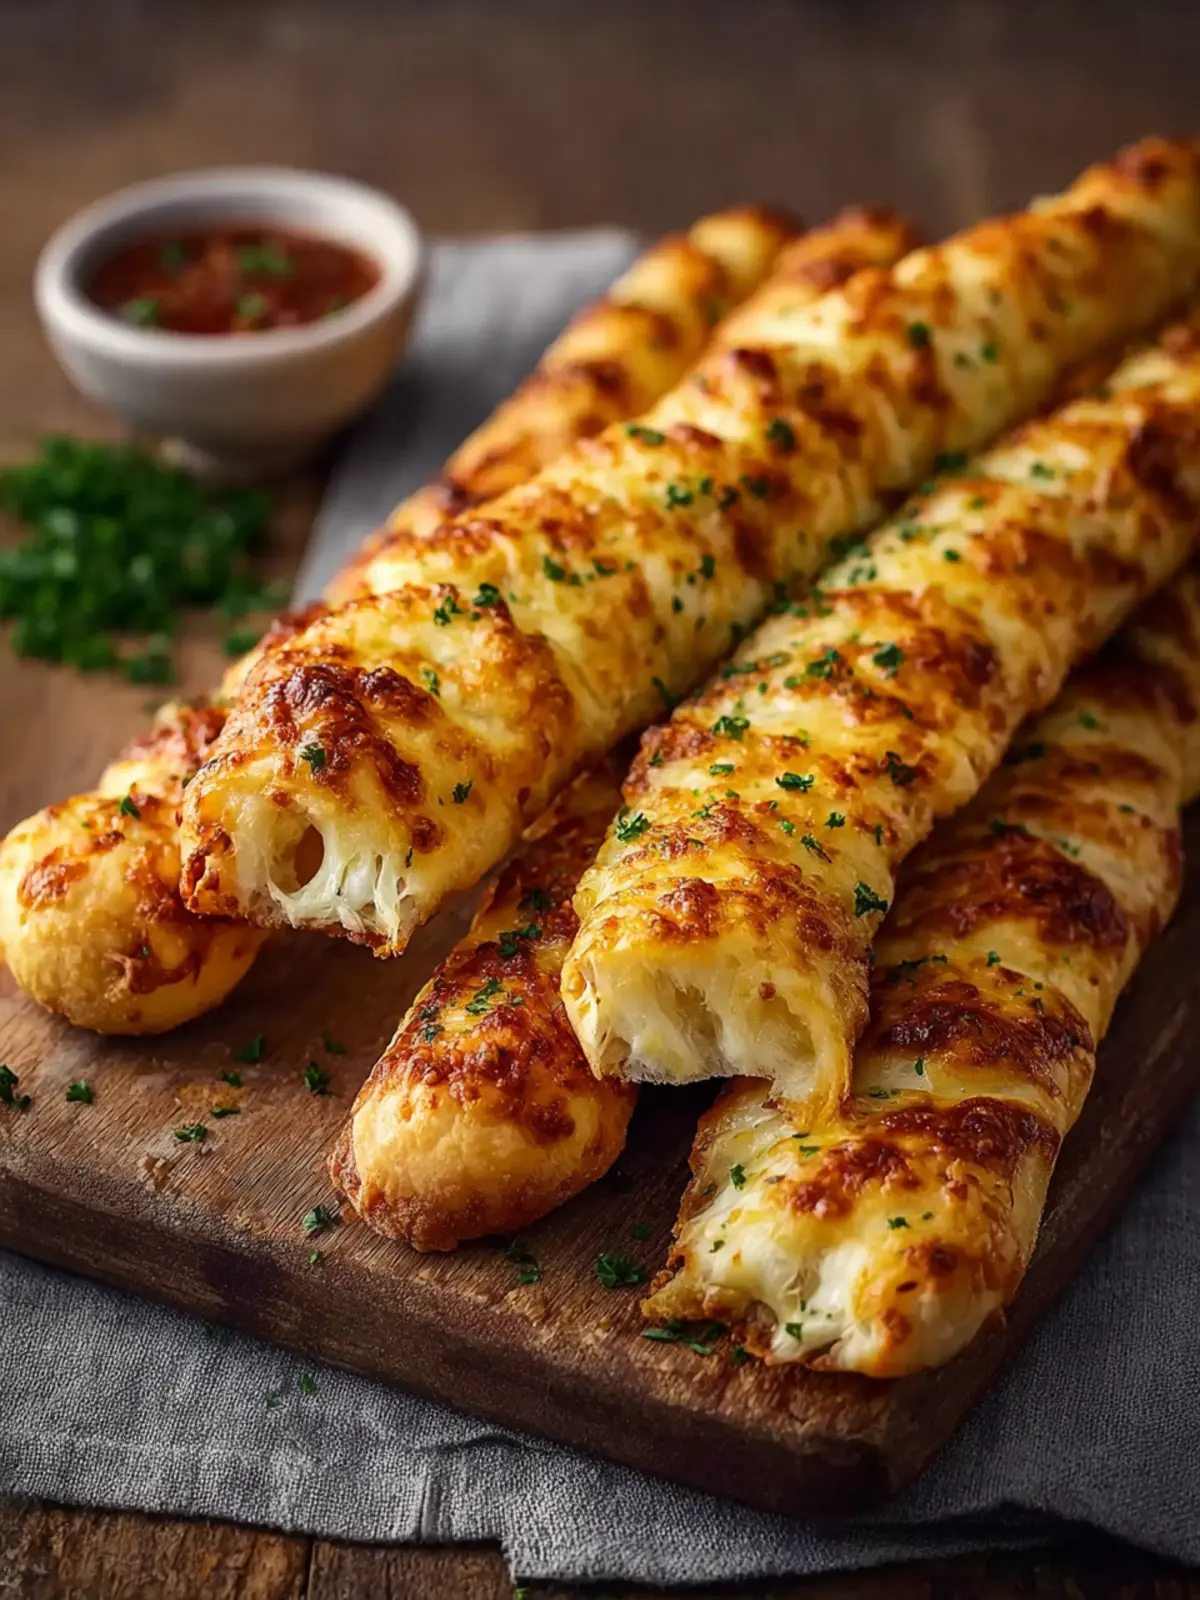
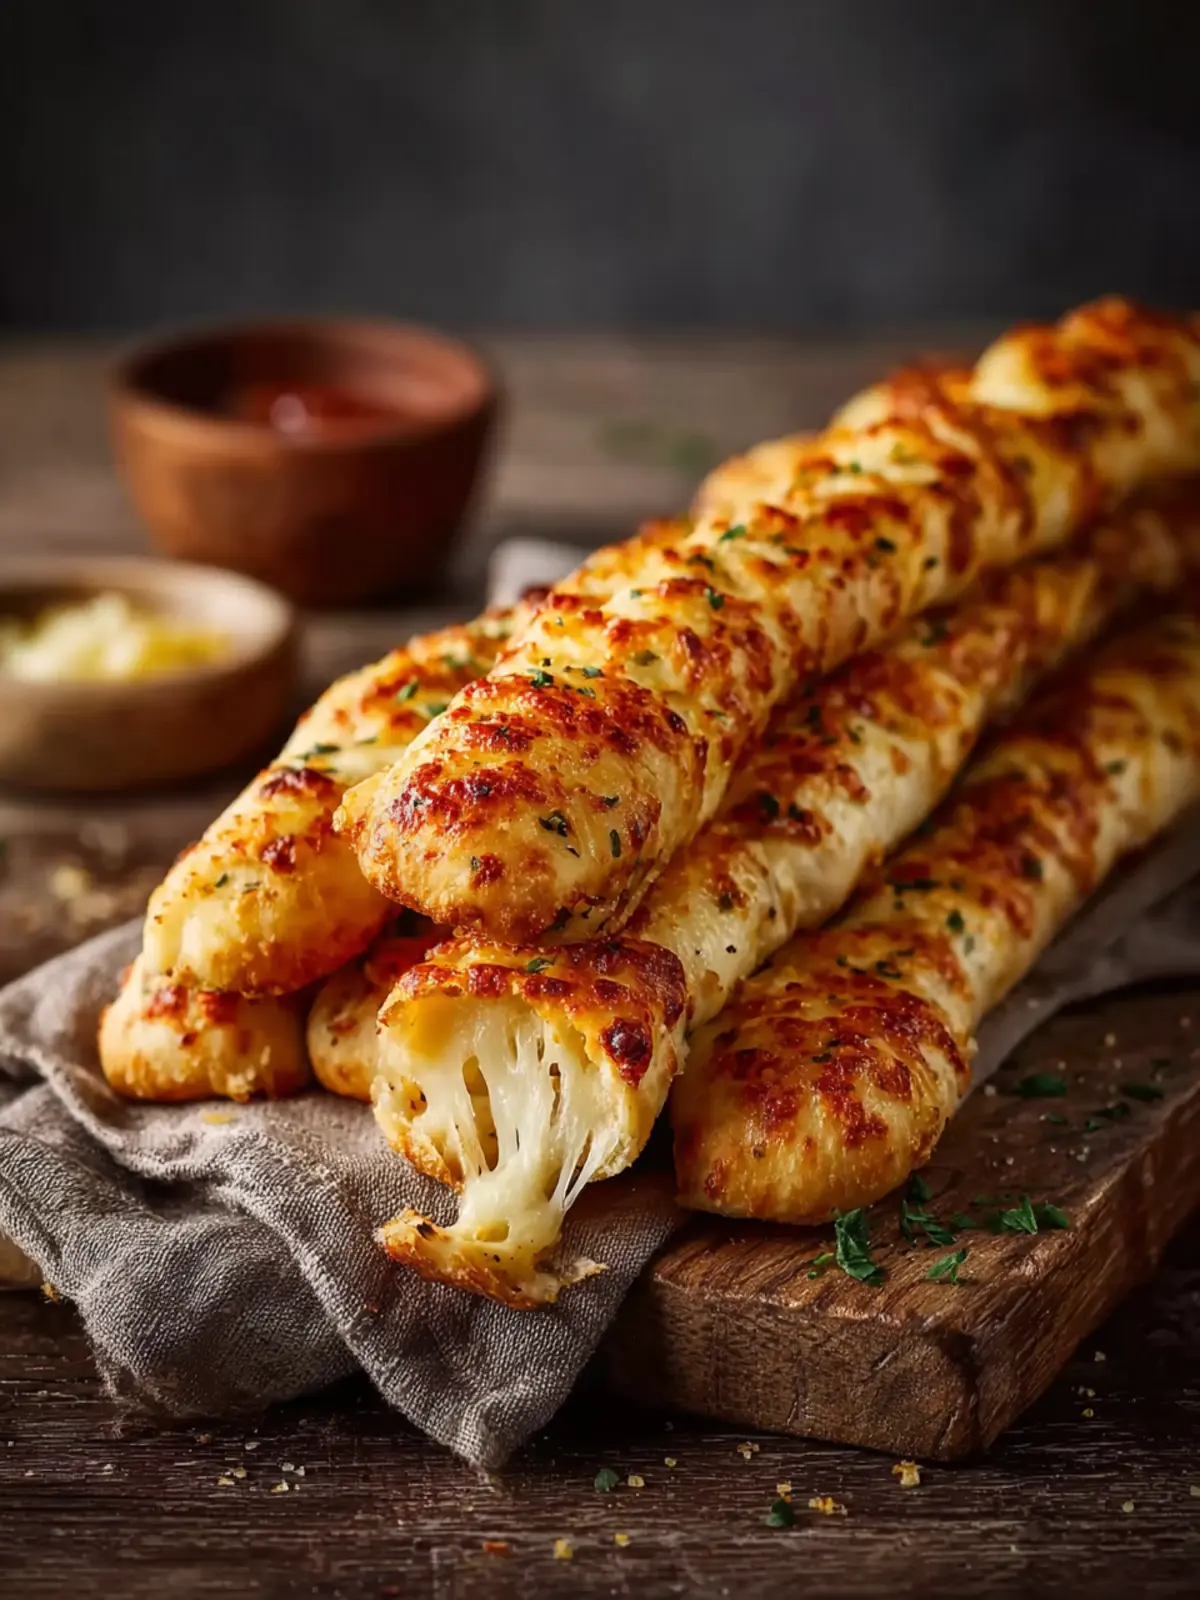
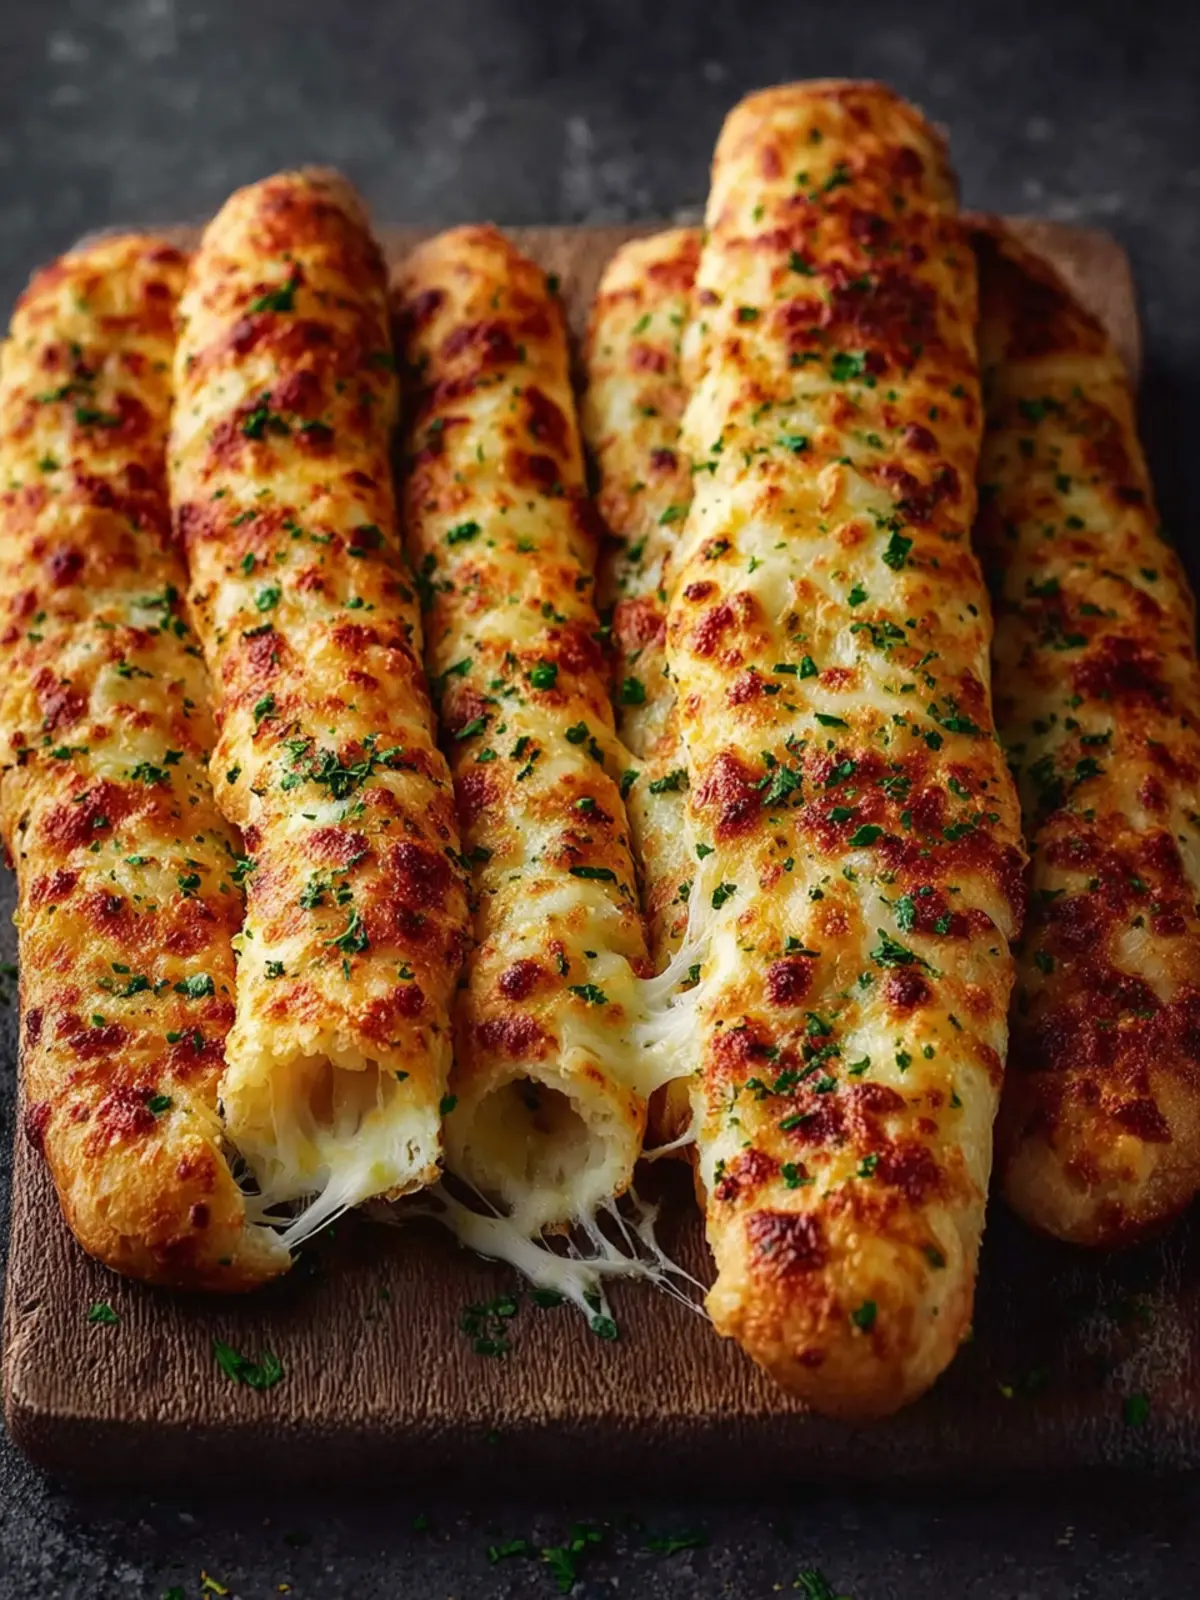
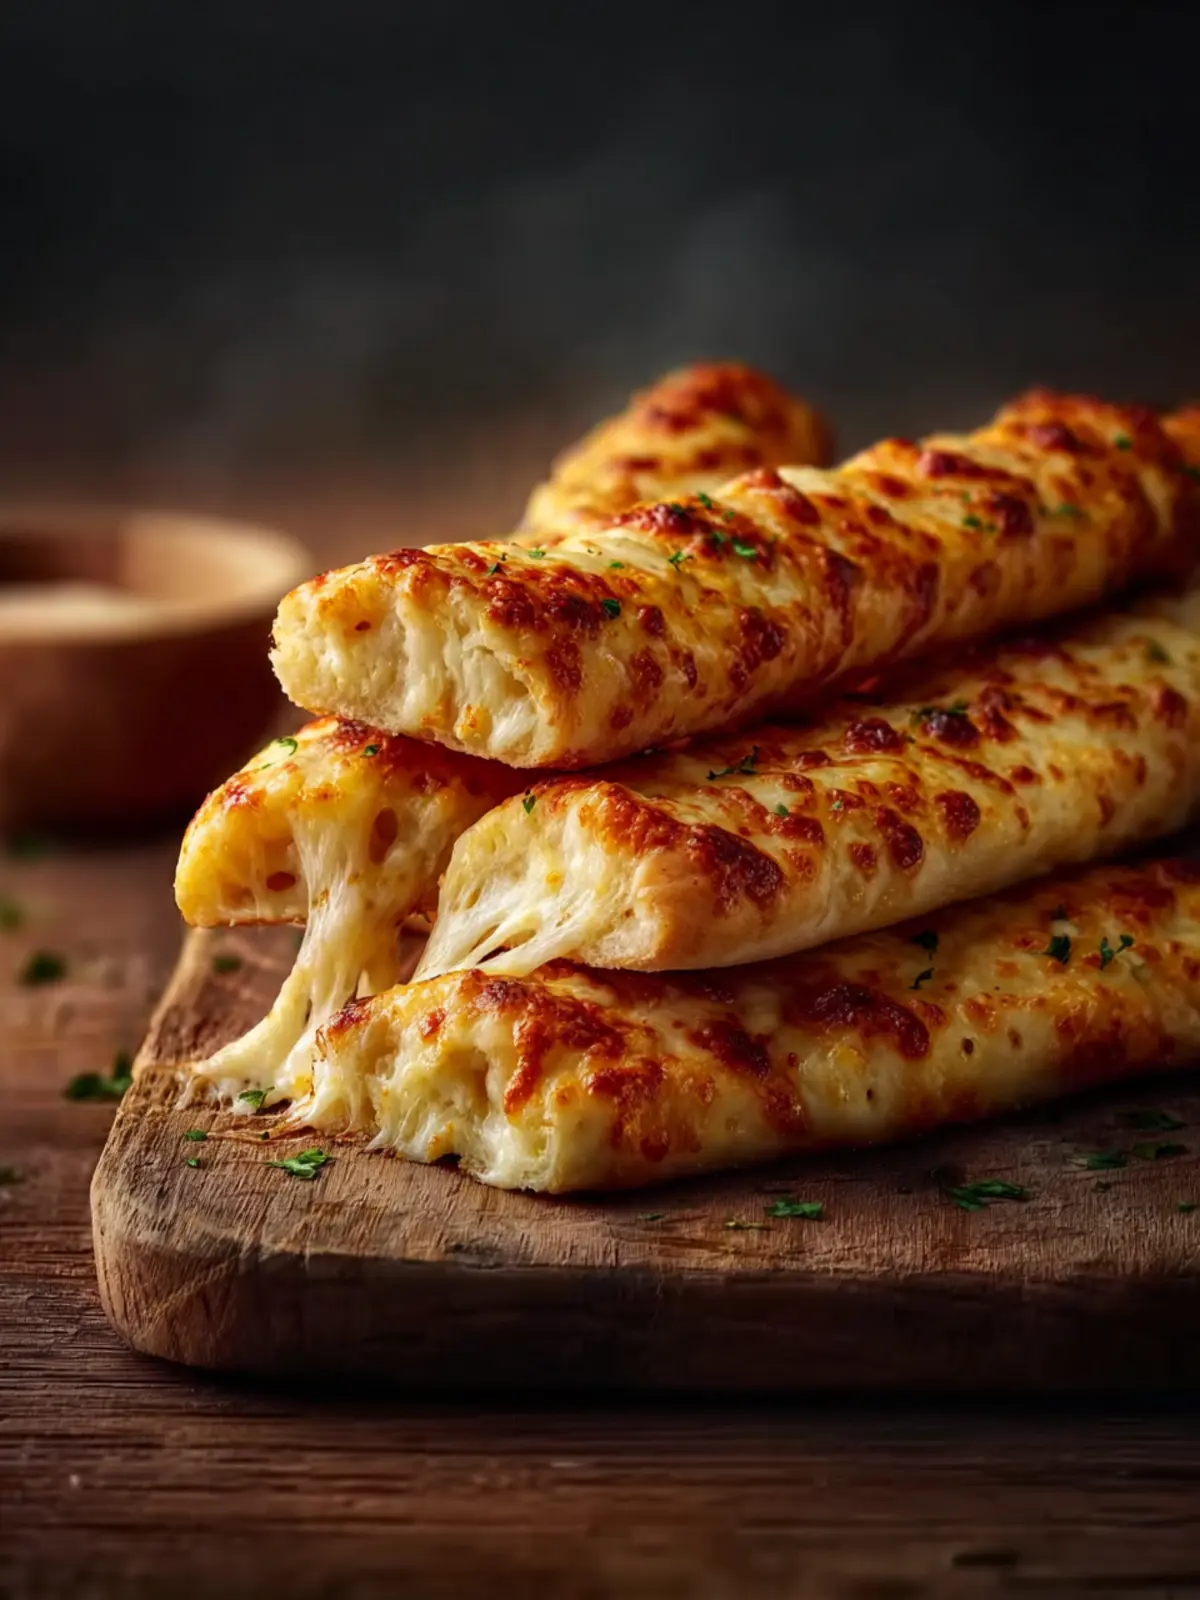
Homemade Cheesy Breadsticks: The Best Gooey Snack Ever
Introduction to Homemade Cheesy Breadsticks
In the heart of any cozy gathering, homemade cheesy breadsticks stand out as a delightful, shareable treat that brings everyone together. Picture this: the aroma of freshly baked bread wafting through your kitchen, drawing in friends and family with the promise of cheesy goodness. These are not just ordinary breadsticks; they are a comforting, indulgent snack that transcends age, perfect for casual get-togethers or movie nights in.
Crafting your own homemade cheesy breadsticks allows you to control the flavors and ingredients, leading to a fresher, more satisfying experience than what you might find in a store. Using your favorite cheeses and spices means the possibilities are endless, whether you prefer a sharp cheddar, a melty mozzarella, or a zesty Parmesan. Plus, they can easily be paired with marinara sauce, ranch dressing, or even a light drizzle of garlic-infused olive oil for dipping, making them incredibly versatile.
But why should you try making these delights at home? For starters, it’s surprisingly simple! With just a few staple ingredients, you can whip up a batch that impresses everyone at the table. Let’s face it: who wouldn’t love a warm, cheesy stick of dough pulled straight from the oven? Plus, there’s something utterly satisfying about preparing your food from scratch. Not only does it taste better, but it also creates a wonderful sense of accomplishment—one that store-bought snacks just can’t replicate.
You’ll find that these homemade cheesy breadsticks are perfect as an appetizer, a side at dinner, or even as a snack for work or school lunches. They are customizable, fun to make, and even more fun to eat. So roll up your sleeves, preheat that oven, and get ready to create something delicious that will have everyone raving!
What makes Homemade Cheesy Breadsticks a must-try?
Homemade cheesy breadsticks combine simplicity with mouthwatering flavor. They are an easy introduction to baking, making them the perfect recipe for both beginners and seasoned cooks alike. With the chance to personalize your flavors, these breadsticks can cater to any taste.
Here are a few reasons why these cheesy delights deserve a spot at your table:
- Quick and Easy: With minimal preparation time, you can have these baked and ready to serve in under an hour.
- Customizable: Whether you want to add spices, herbs, or different cheeses, each batch can be unique to your own preferences.
- Crowd-Pleaser: Everyone loves cheese, and these breadsticks are a fun snack that works well for all occasions.
- Great for Dipping: Pair them with your favorite sauces and make snacking an interactive experience.
Once you try your hand at homemade cheesy breadsticks, you’ll find they quickly become a staple in your cooking repertoire.
Key Ingredients for Homemade Cheesy Breadsticks
Fluffy and cheesy, homemade cheesy breadsticks bring warmth and comfort to any meal. The magic starts with a few simple ingredients that transform into delightful bites. Here’s what you need to create these cheesy wonders.
Pizza Dough: A great breadstick starts with a solid foundation. I recommend using fresh pizza dough from your local bakery or pizzeria for the best flavor and texture. If you opt for store-bought, just ensure it’s high-quality.
Cheese: The star of our homemade cheesy breadsticks is cheese! I typically use a blend of mozzarella for stretchy goodness and Parmesan for that rich, nutty flavor. For a unique twist, consider adding some cheddar or even feta.
Butter: Melted butter brushed on top before baking adds a golden finish and enhances the overall flavor. Plus, it helps the garlic and herbs stick around for that extra burst of taste.
Garlic Powder: A key flavor enhancer, garlic powder gives those breadsticks a savory kick. If you’re feeling adventurous, fresh minced garlic can take it to the next level.
Italian Seasoning: This blend of dried herbs adds an aromatic depth that pairs perfectly with cheese and bread. It’s a small but mighty addition to your ingredients.
With these elements, you’re well on your way to crafting delicious homemade cheesy breadsticks that are perfect for sharing (or not!).
Why You’ll Love This Recipe
Homemade cheesy breadsticks have a special way of turning an ordinary meal into a fond memory, don’t they? Picture this: It’s a Friday night, you’re unwinding after a long week, and the aroma of melted cheese fills your kitchen. These delectable breadsticks are easy to make and perfect for sharing with friends or family during game night, or enjoying all by yourself while binge-watching your favorite series.
Crafting your own cheesy breadsticks allows you to control the quality of ingredients, ensuring each bite is packed with flavor. You can use fresh cheese that melts beautifully and pairs perfectly with just the right amount of garlic. Experiment with toppings—like herbs or spices—to customize them to your taste.
Here’s what makes them irresistible:
- Simplicity: The step-by-step process is straightforward, making it ideal even for novice cooks.
- Freshness: There’s something uniquely satisfying about savoring something homemade.
- Customizable: You can adapt the flavors to your liking—think spicy pepper flakes or zesty herbs.
Ultimately, homemade cheesy breadsticks are not just a dish; they’re an invitation to create lasting moments filled with warmth and joy. So grab your ingredients and let’s dive into this delightful recipe!
Tips for Making Perfect Homemade Cheesy Breadsticks
Creating homemade cheesy breadsticks is as much an art as it is a science. With a few simple tips, you can elevate your baking game and craft breadsticks that are crispy on the outside and gooey on the inside.
Choose the Right Cheese
For the ultimate cheesy experience, opt for a blend of cheeses. Mozzarella offers that classic stretchiness, while a sprinkle of Parmesan adds a sharp, flavorful kick. Mixing in some cheddar can also enhance the depth of flavor. Remember, the quality of your cheese matters—so go for the good stuff!
Don’t Rush the Dough
Allow your dough to rise properly to develop flavor and texture. If you’re short on time, a warm environment can speed up the process. Just make sure it’s not too warm, as that can compromise your yeast’s effectiveness. Cover the dough with a damp cloth to keep it moist while it rises.
Perfect Your Baking Technique
Baking at a higher temperature helps achieve that desired golden-brown color. The ideal range is typically between 425°F to 450°F for about 12-15 minutes. Keep an eye on them towards the end—nobody likes burnt breadsticks!
Slice with Care
When cutting your dough into strips, use a sharp knife or a pizza cutter for clean edges. This helps them bake evenly and makes them easier to pull apart when serving.
Remember, the joy of making homemade cheesy breadsticks comes not just from the final product, but from the experience of creating something delicious from scratch! Enjoy your baking!
Time Details for Homemade Cheesy Breadsticks
When craving the irresistible indulgence of homemade cheesy breadsticks, knowing the timing for each step can make all the difference. Here’s a fun breakdown of the process, ensuring you enjoy every gooey bite.
Preparation Time
The preparation time is about 15 minutes. During this time, you’ve got a chance to gather your ingredients, assemble the dough, and get everything ready for those cheesy goodness that awaits.
Rising Time
Allow the dough to rise for about 1 hour. This is where the magic happens—watch the dough double in size as it develops a lighter, fluffier texture that makes the cheesy breadsticks so delightful.
Baking Time
Bake your homemade cheesy breadsticks for 15 to 20 minutes. Keep an eye on them! You’ll want them golden brown and bubbling with melted cheese right before you pull them out.
Total Time
In total, you’re looking at around 1 hour and 35 minutes from start to finish. It’s a small investment of time for a dish that can contribute so much joy to your meal!
Nutritional Information for Homemade Cheesy Breadsticks
Crafting homemade cheesy breadsticks brings a cozy feeling to any meal, but it’s also helpful to know what you’re indulging in. Here’s a breakdown of the nutritional value that these delightful treats offer.
Calories
A serving of homemade cheesy breadsticks contains approximately 180 calories. This makes them a satisfying snack without overwhelming your daily calorie intake.
Protein
With around 7 grams of protein per serving, these cheesy delights provide a nice boost to your day. They’re a fantastic way to complement a meal or snack after a workout while keeping your energy levels up.
Sodium
These breadsticks contain about 400 milligrams of sodium per serving. While they might be a bit saltier due to the cheese and seasoning, moderation is key, especially if you’re watching your sodium intake.
FAQs about Homemade Cheesy Breadsticks
A fresh batch of homemade cheesy breadsticks can elevate any meal with their gooey, cheesy goodness, but sometimes you’re left with a few extras to ponder. Here’s a helpful rundown to answer your most burning questions about these delightful treats.
Can I freeze leftover breadsticks?
Absolutely! Freezing your leftover homemade cheesy breadsticks is a fantastic way to enjoy that cheesy goodness later. Just let them cool completely, then wrap them tightly in plastic wrap or aluminum foil before placing them in an airtight container. When you’re ready to eat, simply reheat them in the oven at 350°F for about 10–15 minutes. They’ll taste almost as fresh as when they came out of the oven!
How can I make them even cheesier?
If you’re a cheese lover, there are several ways to amp up the cheesy flavor in your breadsticks:
- Cheese Blend: Use a combination of mozzarella and cheddar for a richer taste.
- Parmesan Topping: Sprinkle freshly grated Parmesan on top before baking for an added burst of flavor.
- Cheesy Filling: Consider stuffing the breadsticks with cheese or adding a layer of cream cheese to the dough.
What dipping sauces pair well with these breadsticks?
Dipping sauces can really enhance your homemade cheesy breadsticks. Here are a few popular options:
- Marinara Sauce: A classic pairing that offers a tangy contrast.
- Garlic Butter: Create a simple garlic butter sauce for a rich, flavorful dip.
- Ranch Dressing: For a creamy, herby option that complements the cheesy flavor nicely.
Enjoy crafting your lovely breadsticks, and don’t hesitate to experiment!
Conclusion on Homemade Cheesy Breadsticks
Creating homemade cheesy breadsticks is an adventure that brings joy to your kitchen, offering a warm and cheesy hug in each bite. Whether you’re enjoying them as an easy snack or serving them alongside your favorite pasta dish, these breadsticks are sure to impress. Remember to use fresh ingredients for the best flavor and texture—you’ll taste the difference! Take your time during the preparation; letting the dough rise fully pays off in light and fluffy breadsticks. Now, gather your friends and family, and share this delightful treat! Your evenings just got a lot cheesier and so much more fun.
Print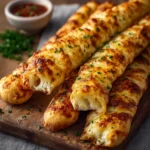
Homemade Cheesy Breadsticks
- Total Time: 1 hour 35 minutes
- Yield: 12 breadsticks 1x
- Diet: Vegetarian
Description
Delicious homemade cheesy breadsticks, perfect for dipping!
Ingredients
Scale
- 2 ¼ teaspoons active dry yeast
- 1 teaspoon granulated sugar
- ¾ cup warm water
- 2 cups all-purpose flour
- 1 teaspoon salt
- 1 tablespoon olive oil
- 1 ½ cups shredded mozzarella cheese
- ½ cup shredded cheddar cheese
- 2 tablespoons melted butter
- 1 teaspoon garlic powder
- 1 teaspoon dried oregano
- ½ teaspoon dried basil
- ¼ teaspoon crushed red pepper flakes (optional)
- 2 tablespoons grated Parmesan cheese
Instructions
- In a small bowl, combine warm water, sugar, and yeast. Let it sit for 5–10 minutes until it becomes foamy. This step always feels like a quiet little miracle. Watching the yeast bloom reminds me that good things take a few minutes of patience.
- In a large bowl, mix flour and salt. Add the yeast mixture and olive oil. Stir until a dough forms. Transfer to a floured surface and knead for about 5–7 minutes until smooth and elastic. The dough should feel soft but not sticky.
- Place the dough in a lightly oiled bowl. Cover with a clean kitchen towel and let it rise in a warm place for about 1 hour, or until doubled in size. This is the perfect time to prepare your dipping sauce or simply enjoy the comforting anticipation.
- Preheat your oven to 425°F (220°C). Roll the dough into a rectangle about ½ inch thick on a parchment-lined baking sheet. There is something satisfying about shaping the dough with your hands, knowing it will soon become golden, cheesy perfection.
- Brush the surface with melted butter. Sprinkle garlic powder, oregano, basil, and red pepper flakes evenly. Top generously with mozzarella, cheddar, and Parmesan. This is where Homemade Cheesy Breadsticks truly come to life.
- Bake for 12–15 minutes, or until the cheese is melted, bubbly, and slightly golden. The edges should be lightly crisp.
- Let cool for a few minutes, then slice into strips using a pizza cutter. Serve warm with marinara sauce or garlic butter for dipping.
Notes
- For extra flavor, consider adding chopped fresh herbs or spices to the dough.
- These breadsticks are best enjoyed fresh out of the oven.
- Prep Time: 20 minutes
- Cook Time: 15 minutes
- Category: Appetizer
- Method: Baking
- Cuisine: Italian
Nutrition
- Serving Size: 1 breadstick
- Calories: 150
- Sugar: 1g
- Sodium: 200mg
- Fat: 7g
- Saturated Fat: 3.5g
- Unsaturated Fat: 3g
- Trans Fat: 0g
- Carbohydrates: 18g
- Fiber: 1g
- Protein: 5g
- Cholesterol: 15mg