Follow Me On Social Media!

Milk Bread Recipe: The Best Soft & Buttery Loaf You’ll Crave
Introduction to Milk Bread Recipe
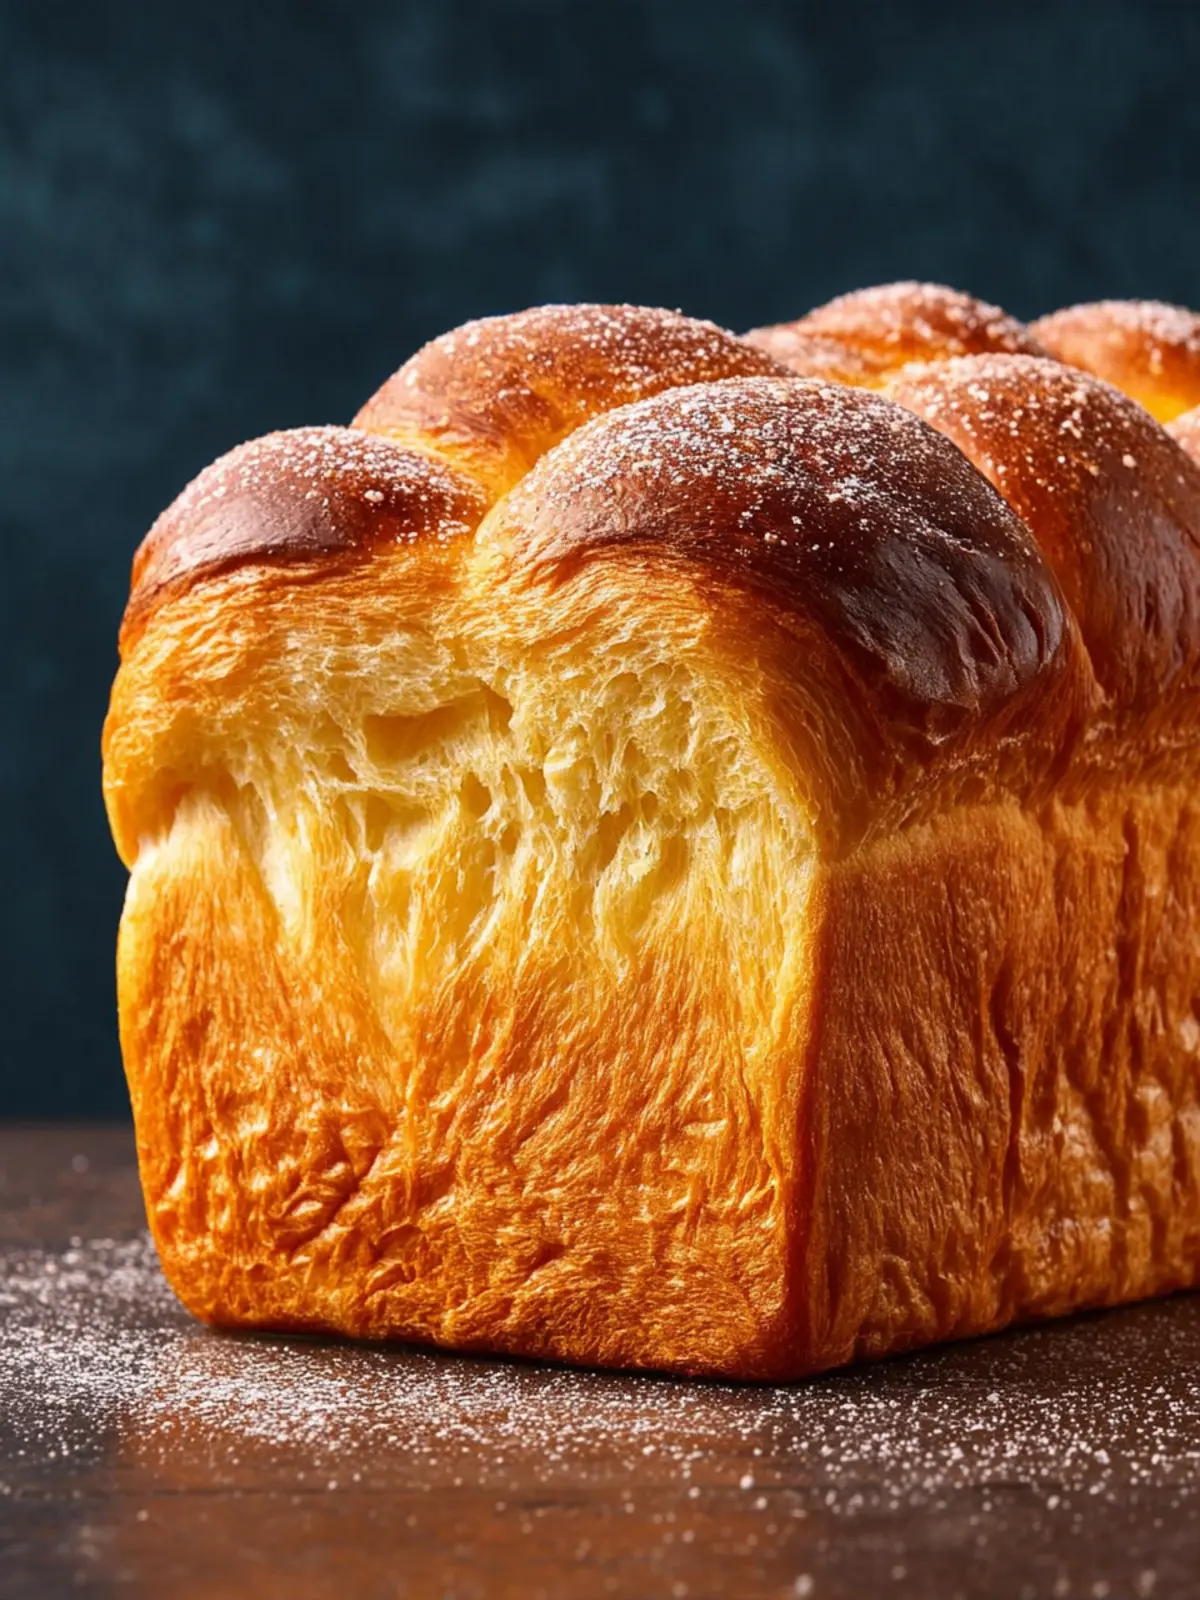
The joy of biting into a slice of milk bread is an experience that lingers long after the last crumb has disappeared. This comfort food, soft and fluffy, evokes memories of cozy family breakfasts or delightful bakery visits that many of us cherish. With its smooth texture and slightly sweet flavor, milk bread has a unique way of bringing people together—whether spread with butter, enjoyed with jam, or simply savored on its own.
What makes this milk bread recipe particularly special is its ability to transform ordinary ingredients into something extraordinary. It combines the classic elements of flour, sugar, yeast, and, of course, milk, yet the results are anything but mundane. As you knead the dough, the soothing scent of warm bread fills the air, creating a warm atmosphere that beckons loved ones to gather around your kitchen.
What makes milk bread special and beloved?
Milk bread stands out for several reasons:
-
Moisture and Softness: The inclusion of milk in the dough results in a moist loaf that remains soft for days. Unlike other breads that dry out quickly, milk bread retains its velvety texture, ensuring that it’s delightful from the first slice to the last.
-
Versatility: This milk bread recipe is incredibly adaptable. You can use it for sandwiches, toast, or even French toast. Its slightly sweet flavor pairs beautifully with both sweet spreads like Nutella and savory ingredients like avocado.
-
Nostalgic Element: For many, milk bread is more than just food; it evokes nostalgia. Perhaps it reminds you of the bread your grandmother used to bake or the taste of homemade meals that bring comfort after a long day.
-
Health Benefits: Milk adds nutritional value, providing proteins and vitamins, making this bread not just a treat but a hearty option for meals.
Ultimately, the magic of this milk bread recipe lies in its ability to create a delicious loaf that speaks to the heart, encouraging us to slow down and savor the moments we share with others. So, gather your ingredients and let’s embark on the delightful journey of baking irresistible milk bread.
Key Ingredients for Milk Bread Recipe
Creating the perfect milk bread is all about choosing the right ingredients that contribute to its unique softness and flavor. This recipe combines simplicity with heart-warming nostalgia for a delightful baking experience.
-
Milk: As the star ingredient, I prefer using whole milk for its creaminess. It adds richness that enhances the bread’s texture, making each slice beautifully tender. If you’re looking for a dairy-free option, almond or oat milk can work but may slightly alter the taste.
-
Butter: Incorporating unsalted butter is essential for that luxurious mouthfeel. It’s creamed into the dough to provide moisture and flavor. Make sure it’s softened to room temperature for easy blending.
-
Sugar: Just a touch of granulated sugar not only sweetens the bread but also helps activate the yeast, giving it that perfect rise.
-
Yeast: Active dry yeast is key in making the milk bread rise beautifully. It works its magic with warmth, creating those airy pockets in the bread.
-
Flour: All-purpose flour does the job wonderfully, providing the right structure. If you have bread flour on hand, it can enhance the chewiness.
-
Eggs: Adding eggs enriches the dough, giving the bread a delightful richness and a lovely golden color. They also help bind the ingredients together, ensuring a soft crumb.
-
Salt: Don’t skip on the salt! It not only enhances the flavor but also strengthens the dough, allowing for a great rise during baking.
With these ingredients, you’re on your way to creating a loaf of milk bread that’s perfect for sandwiches, toast, or simply enjoying on its own. Happy baking!
Why You’ll Love This Milk Bread Recipe
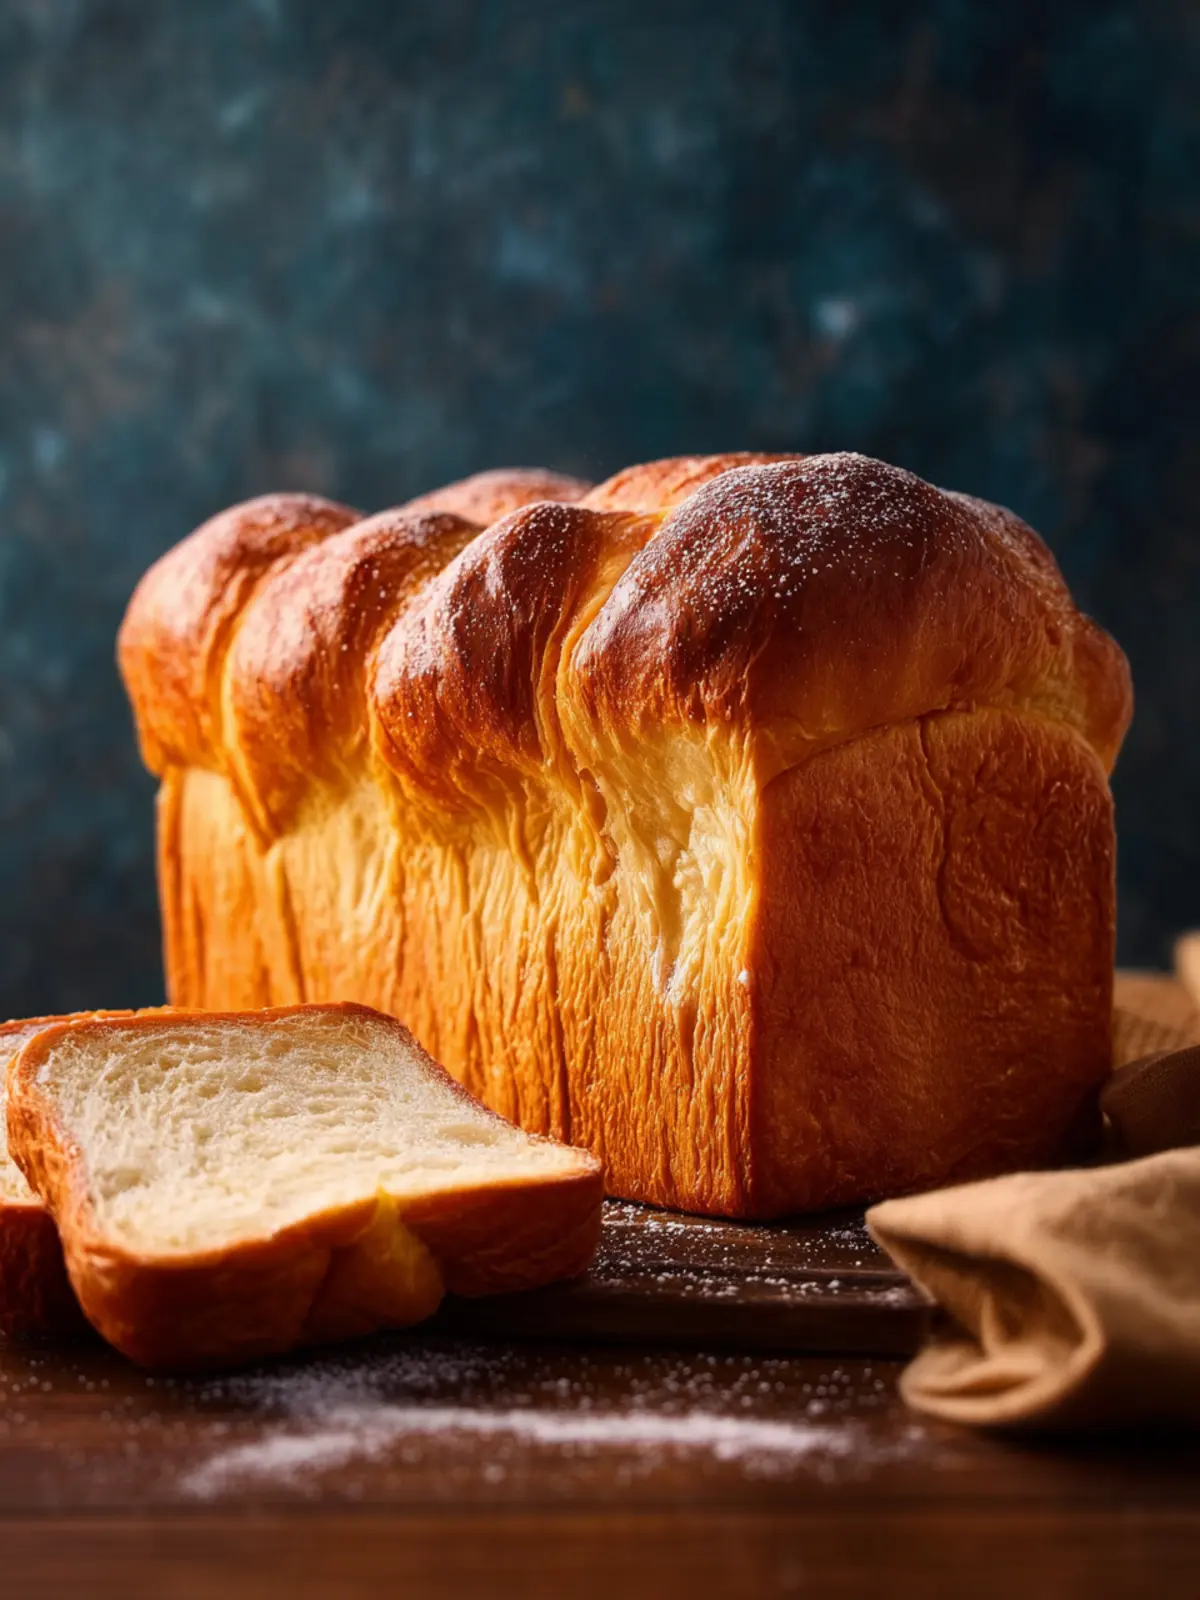
The milk bread recipe you’re about to explore isn’t just a way to make bread; it’s a warm embrace from your kitchen that evokes childhood memories and cozy moments. Imagine walking into a home where the sweet scent of freshly baked bread fills the air, enticing you to grab a slice while it’s still warm.
This recipe is loved for its incredibly soft texture and deliciously sweet flavor. Whether you’re planning a brunch with friends, a cozy dinner with family, or just treating yourself to some self-care, this milk bread is the perfect companion.
Here’s what makes this milk bread recipe special:
- Softness & Flavor: The use of milk not only adds flavor but creates a tender crumb that makes the bread irresistibly soft.
- Versatile: Enjoy it fresh with butter, toast it for breakfast, or use it as the base for your favorite sandwiches.
- Simple Steps: With straightforward ingredients and easy-to-follow instructions, even novice bakers will find success.
- Perfect for Sharing: There’s something magical about sharing homemade bread. It’s an instant way to connect with others and create lasting memories.
Baking this milk bread recipe will not only satisfy your cravings but also fill your home with love, warmth, and the delightful aroma of fresh bread—who wouldn’t love that?
Cooking Tips and Notes for Milk Bread
Crafting a milk bread recipe can feel like embarking on a small adventure in your kitchen. The enticing aroma of baking bread is not just about nourishment but also about creating memories and enjoying the process. Here are some helpful tips to ensure your journey into making milk bread is smooth and rewarding.
Use Quality Ingredients
Starting with high-quality ingredients will elevate your bread’s flavor and texture.
- Milk: opt for whole milk for a creamier dough. It contributes to the bread’s tenderness and enhances the overall flavor.
- Yeast: Fresh yeast can make a significant difference. If using dry yeast, ensure it’s within its expiration date for optimal rising.
Kneading the Dough
When it comes to kneading, aim for a smooth, elastic dough. Don’t rush this process; give it at least 10-12 minutes, using either your hands or a stand mixer with a dough hook. This helps develop the gluten, essential for that fluffy texture we love in milk bread.
Proofing Time
Be patient while letting the dough proof. The ideal environment is a warm, draft-free spot. A typical kitchen warm-up can take about 1-2 hours. Remember, this is where the magic happens!
Baking
For a golden crust, place a shallow pan of water in the oven. The steam will create that perfect crispy outer layer while keeping the inside moist and tender. Don’t forget to cool the bread on a wire rack to prevent it from getting soggy underneath.
With these tips, your milk bread recipe is bound to impress and inspire!
Time Breakdown for Milk Bread
Creating a delicious milk bread recipe is an enjoyable process, but understanding the timeline can help you plan your baking day. Here’s a handy breakdown of the different stages:
Preparation time
Getting everything ready will take about 15-20 minutes. This includes measuring your ingredients, mixing the dough, and kneading—an essential step for that lovely texture.
Rising time
Allow your dough to rise for about 1 to 1.5 hours. This step is crucial for developing flavor and achieving the fluffy interior that milk bread is known for.
Baking time
Baking takes approximately 25-30 minutes. You’ll want to keep an eye on it, ensuring a lovely golden-brown exterior.
Total time
All in all, you’re looking at around 2 hours and 15 minutes from start to finish, making this a perfectly manageable project for a weekend day or cozy evening. Happy baking!
Nutritional Facts for Milk Bread Recipe
Creating a delectable milk bread recipe not only satisfies your taste buds but also nourishes your body. Understanding the nutritional profile of this delightful treat can help you make healthier choices in your baking journey.
Calories
A slice of freshly baked milk bread typically contains about 120 calories. This makes it a lovely addition to meals without overwhelming your daily calorie intake.
Protein
You can boost your protein intake with each slice, as milk bread contains approximately 4 grams of protein. This is particularly beneficial for young professionals looking to maintain energy levels throughout their busy days.
Sodium
With roughly 190 mg of sodium per slice, this milk bread recipe offers a moderate sodium content, which is essential for flavor without sacrificing health. Enjoy this bread guilt-free in your sandwiches or as a side to your meals!
FAQs About Milk Bread Recipe
In the world of baking, milk bread stands out for its soft texture and rich flavor. As you embark on your journey to create this delightful loaf, you might have a few questions. Here are some frequently asked queries surrounding this milk bread recipe.
Can I substitute half and half with other dairy?
Absolutely! If you don’t have half and half handy, there are several alternatives you can use. Whole milk or even heavy cream can provide similar richness. For a lighter option, you might consider using milk with a bit of cream added to it. Just keep in mind that the texture may vary slightly, but your milk bread will still turn out delicious.
How can I store milk bread for freshness?
To keep your milk bread fresh, wrap it tightly in plastic wrap or place it in an airtight container. Storing it at room temperature will maintain its soft texture for a few days. If you want to keep it longer, consider freezing it. Slice the loaf before freezing so you can take out individual pieces as needed. Just make sure to wrap it well to prevent freezer burn!
Is it possible to make this recipe vegan?
Definitely! You can create a vegan version of this milk bread recipe by substituting regular milk with your preferred plant-based milk, such as almond milk or oat milk. For the butter, coconut oil or a vegan butter alternative works wonders. Just ensure that the other ingredients used are also vegan-friendly, allowing you to enjoy this classic treat without any animal products.
Now that you’re equipped with these FAQs, you’re even closer to baking your perfect loaf of milk bread!
Conclusion on Milk Bread Recipe
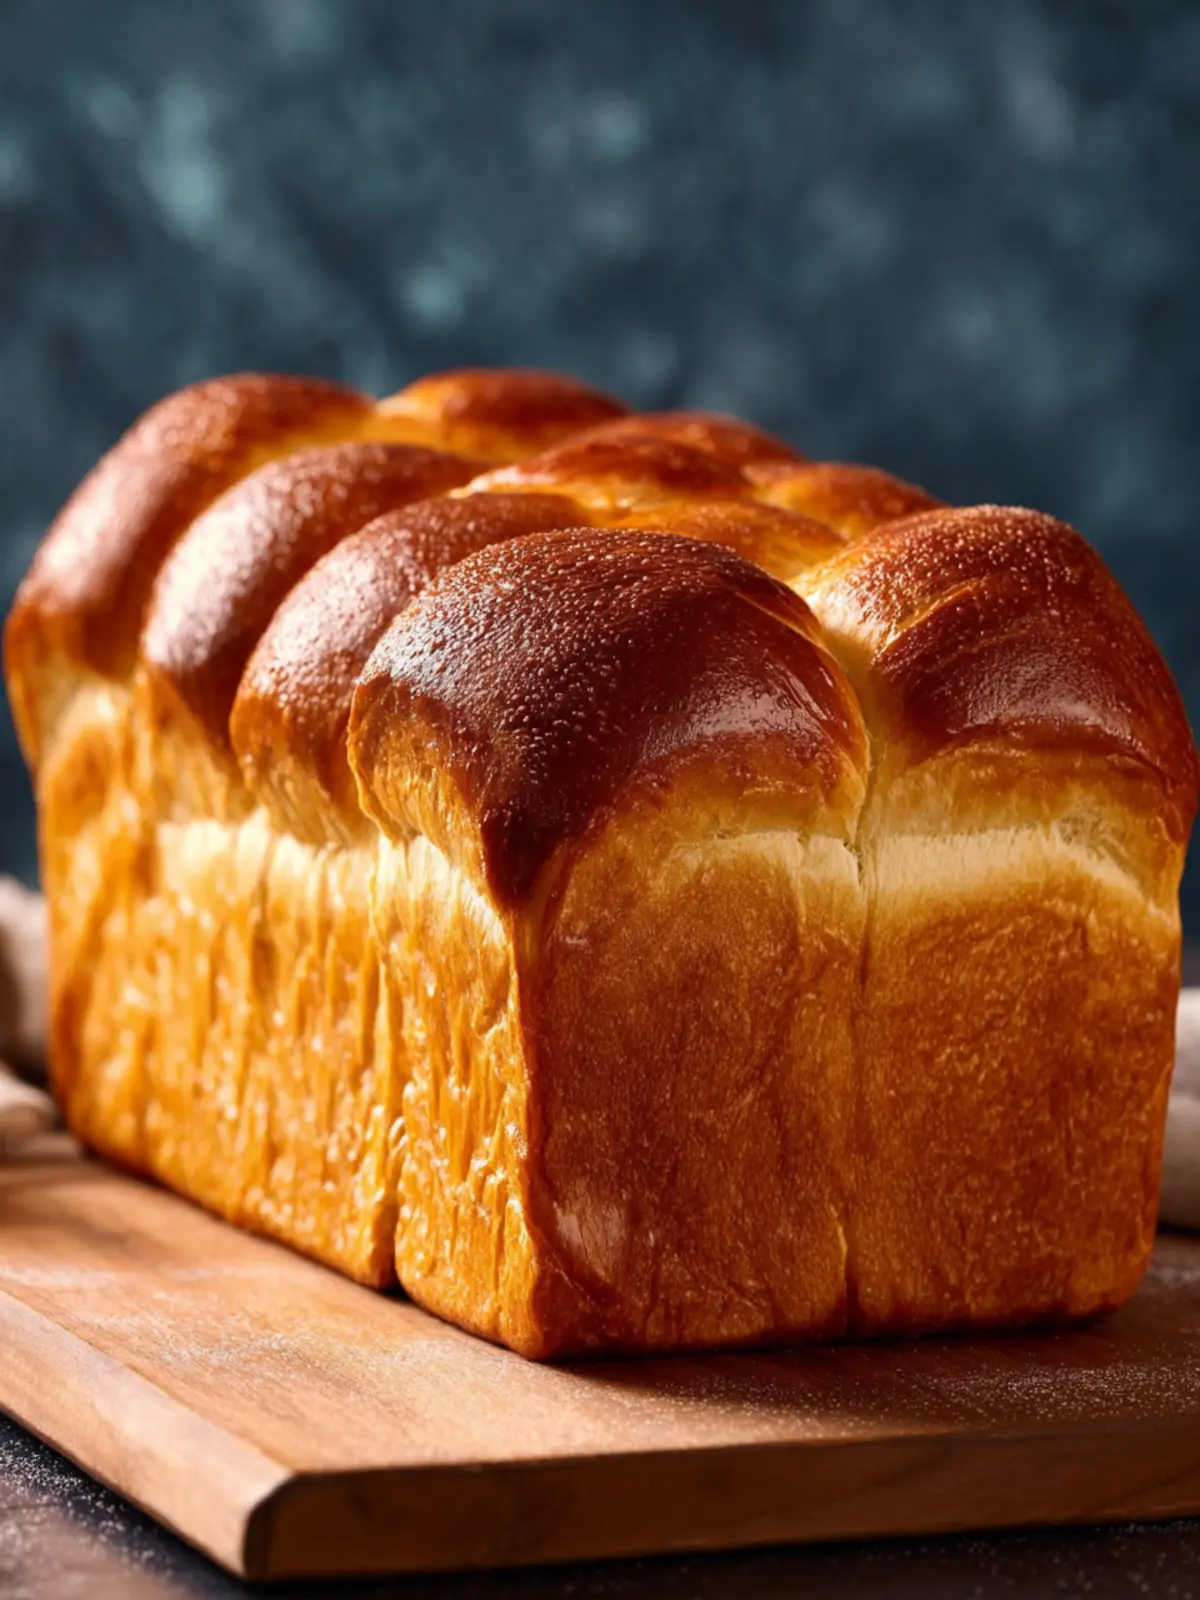
Baking this milk bread recipe isn’t just about making bread; it’s about creating a warm and inviting aroma that fills your home with comfort. This fluffy, slightly sweet bread is perfect for breakfast or an afternoon snack, and once you’ve mastered it, you’ll find endless ways to enjoy it—think sandwiches, toast, or even just with a slice of butter.
So, roll up your sleeves and embrace the joy of baking! Your efforts will be rewarded with a soft, pillowy loaf that brings smiles to your table. Trust me, the satisfaction of slicing into a freshly baked loaf is unparalleled. Enjoy your baking journey!
Print
Homemade Bread
- Total Time: 1 hour 50 minutes
- Yield: 4 servings 1x
- Diet: Vegetarian
Description
A delicious homemade bread recipe with a fluffy texture and rich flavor.
Ingredients
Scale
- 2 tablespoons all-purpose flour
- ¼ cup half and half
- ¼ cup water
- ½ cup half and half (115ºF)
- 1 packet instant yeast (or active dry yeast)
- ¼ cup granulated sugar
- 1 tablespoon dry milk powder
- 1 large egg (beaten, room temperature)
- ¼ cup salted butter (softened)
- 2 ½ cups all-purpose flour (spooned into measuring cup and leveled off)
- 1 teaspoon salt
- 1 tablespoon water
- 1 large egg
Instructions
- Whisk starter ingredients together in a small saucepan over medium heat. Stir constantly for 4 minutes until it is thick and the whisk leaves lines in the pan. Put starter on a separate plate or bowl and let cool. I like to spread it thinly on a plate in order for it to cool faster.
- Add the warmed half and half to the bowl of a stand mixer. Sprinkle the yeast over the top and let it sit for 2-3 minutes to get a little frothy. Then add the sugar, milk powder, egg, butter, flour, and salt to the bread machine. Mix just until barely combined.
- Add in the cooled starter. Put on dough hook attachment on the stand mixer and knead on low for 7-10 minutes. The dough should feel very greasy at this point. Don’t be tempted to add more flour. The dough should be tacky to the touch. Not dry at all.
- Transfer into a lightly oiled bowl, cover with plastic wrap or a clean kitchen towel and let it rise for 1 hour or until dough has doubled in size.
- Transfer dough to a clean surface and divide it into 4 equal sections. Roll each piece out into about 8×5 inches in diameter. Fold the long sides into the center and then roll it up like a cinnamon roll (see pictures above for this step).
- Place each piece into a lightly greased 8×4 (or 9×5) inch pan. Cover and let rise for an additional 45 minutes.
- Preheat oven to 350ºF Fahrenheit.
- In a small bowl, whisk together the egg and water. Brush the top of the risen dough lightly with the egg wash.
- Bake for 30-35 minutes or until golden brown. The inside should be 190º Fahrenheit.
- Remove bread from the oven and allow it to sit in the pan for 5 minutes before transferring it to a wire rack to cool completely. Cut or pull apart bread to serve.
Notes
- This bread is best when eaten fresh, but can be stored in an airtight container for up to 3 days.
- You can freeze the bread for up to 3 months, just make sure to wrap it tightly.
- Prep Time: 15 minutes
- Cook Time: 35 minutes
- Category: Baked Goods
- Method: Bake
- Cuisine: American
Nutrition
- Serving Size: 1 slice
- Calories: 200
- Sugar: 2g
- Sodium: 150mg
- Fat: 8g
- Saturated Fat: 5g
- Unsaturated Fat: 2g
- Trans Fat: 0g
- Carbohydrates: 28g
- Fiber: 1g
- Protein: 4g
- Cholesterol: 55mg