Follow Me On Social Media!

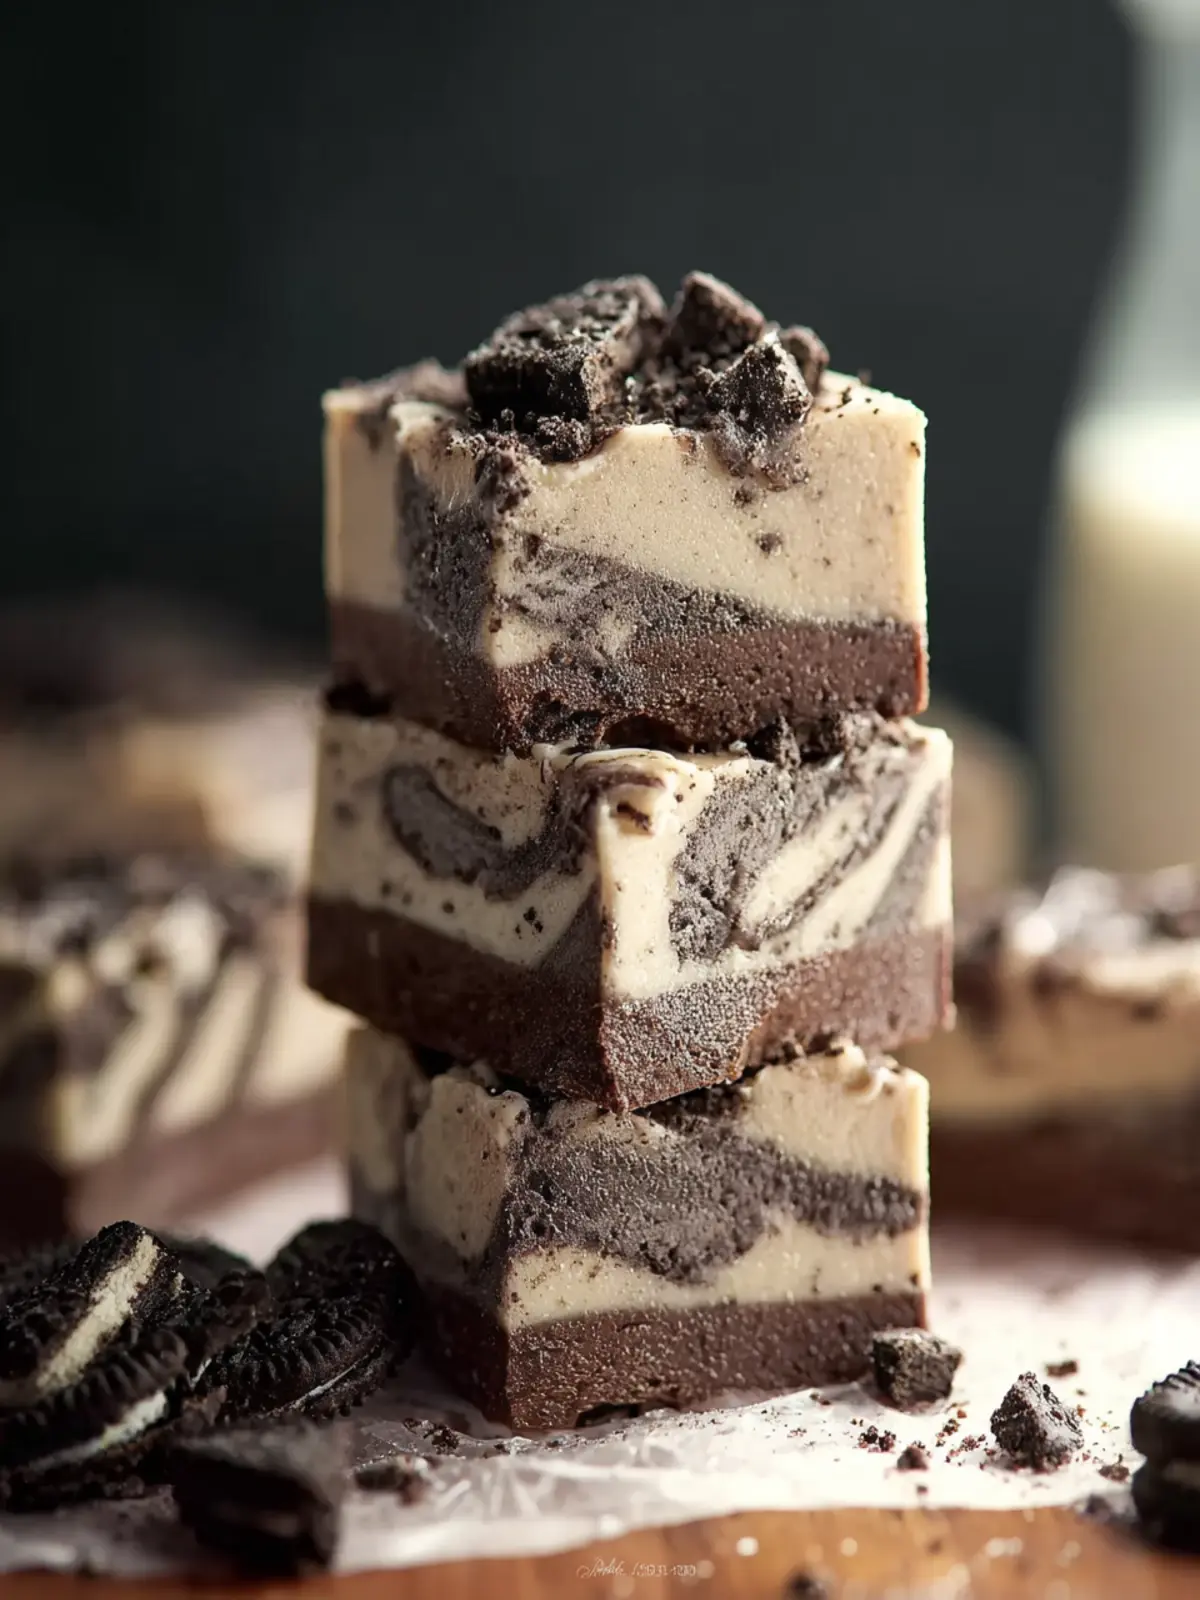
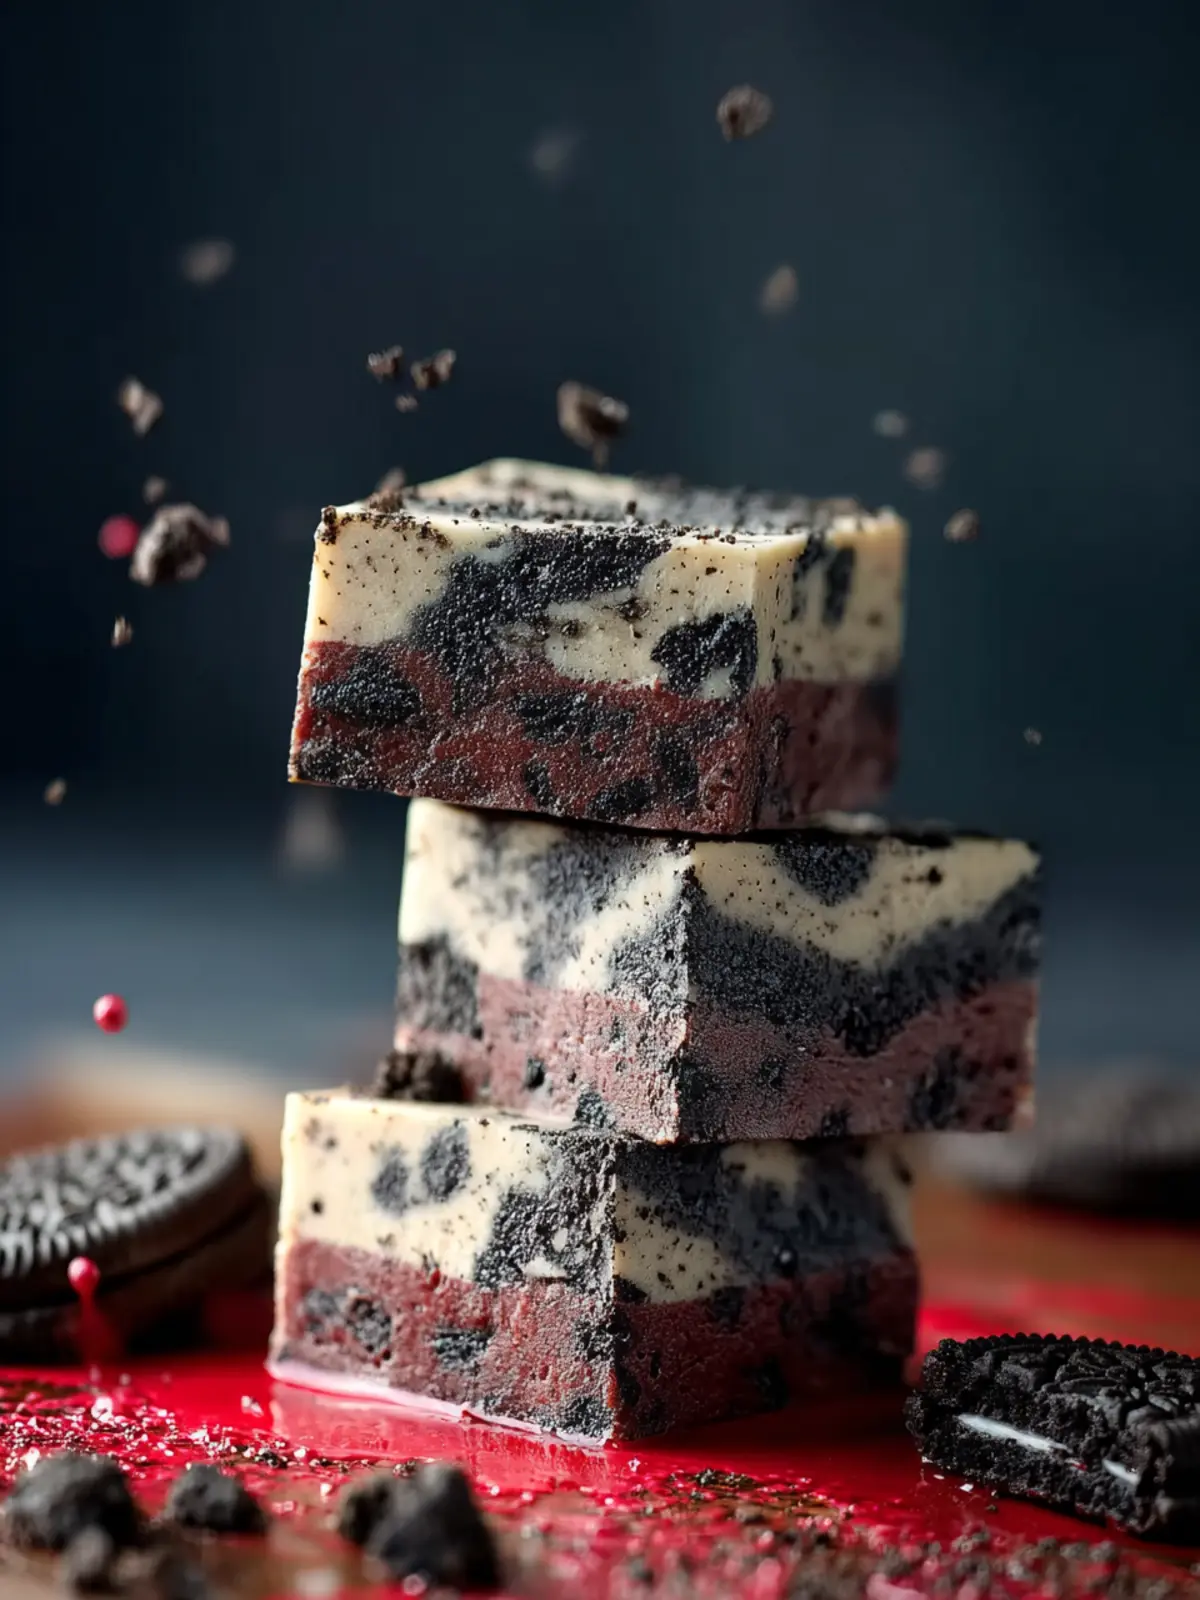
3-Ingredient Oreo Fudge: Easy, Irresistibly Sweet Delight!
Introduction to 3-Ingredient Oreo Fudge: A Simple, Delightful Treat!
Imagine standing in your kitchen, the sweet aroma of melted chocolate wafting through the air, as you embark on a delicious journey with a 3-ingredient Oreo fudge recipe. This easy, no-bake treat brings together the rich flavors of chocolate and the beloved crunch of Oreo cookies, making it an irresistible indulgence for any occasion. Whether you’re planning a cozy night in or need a quick dessert to impress friends, this fudge is sure to become a favorite.
Life can be hectic, and sometimes you want a dessert fix that doesn’t require hours of preparation. That’s where the 3-ingredient Oreo fudge comes in, merging simplicity and delight in every bite. In just a short amount of time, you can whip up a batch that not only looks beautiful but tastes heavenly. Plus, there’s something exhilarating about making a treat that impresses everyone without feeling like you’ve spent the whole day in the kitchen.
What makes Oreo fudge a must-try?
Now, you might wonder, why should you try Oreo fudge over other desserts? Here are a few reasons:
-
Simplicity: With just three readily available ingredients—chocolate, condensed milk, and Oreos—you can create something extraordinary without the fuss.
-
Versatility: Feel free to customize! Toss in nuts, chocolate chips, or drizzle some white chocolate on top to elevate your fudge game.
-
Crowd-Pleaser: It’s hard to resist the combination of rich chocolate and the iconic taste of Oreos—a hit among kids and adults alike!
By making this delightful fudge, you’re not just treating yourself; you’re also creating lasting memories. Picture this: friends gathered around, enjoying the smooth, creamy texture of homemade fudge while laughing and reminiscing—what a great way to celebrate togetherness! In the following sections, you’ll find the exact ingredients and step-by-step instructions, so get ready to impress everyone with this delectable creation!
Key Ingredients for 3-Ingredient Oreo Fudge: A Simple, Delightful Treat!
Sweetened Condensed Milk: This creamy base brings a luscious sweetness to the fudge, making it incredibly rich. It’s the magic ingredient that simplifies the process, so there’s no need for complicated baking methods. If you’re after that melt-in-your-mouth texture, this is your go-to!
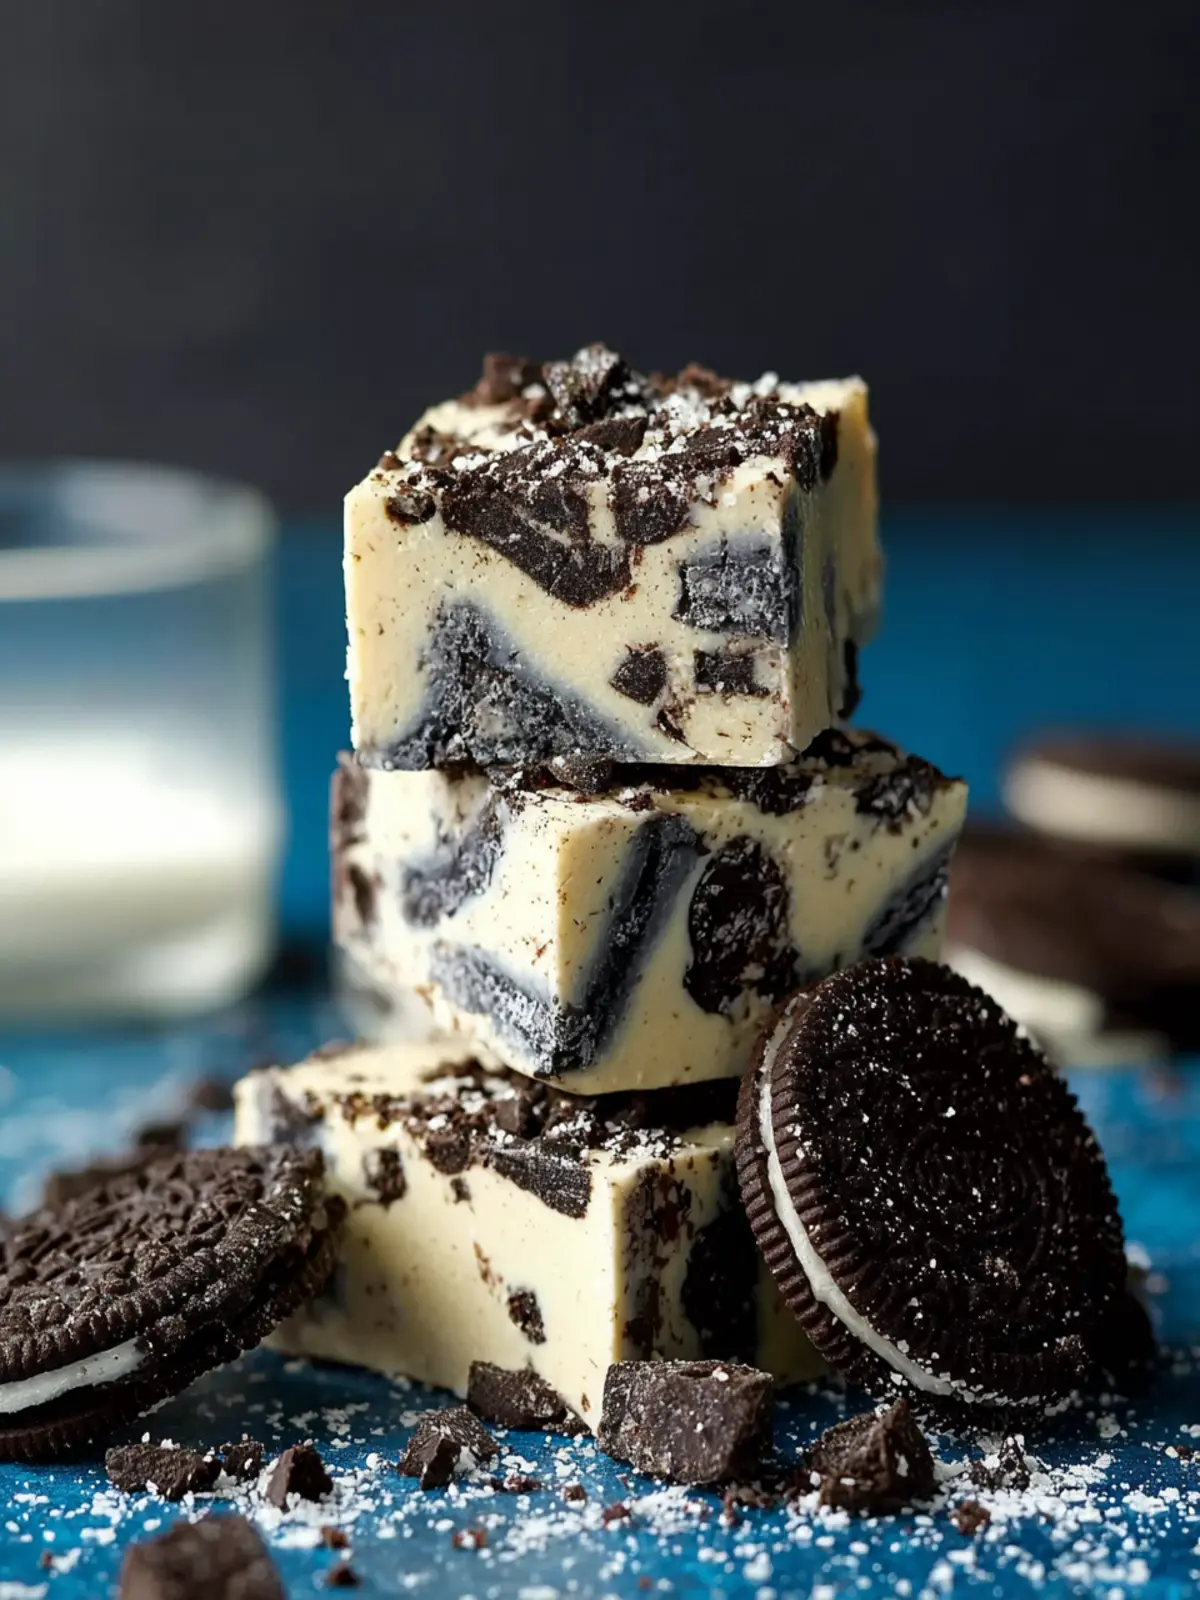
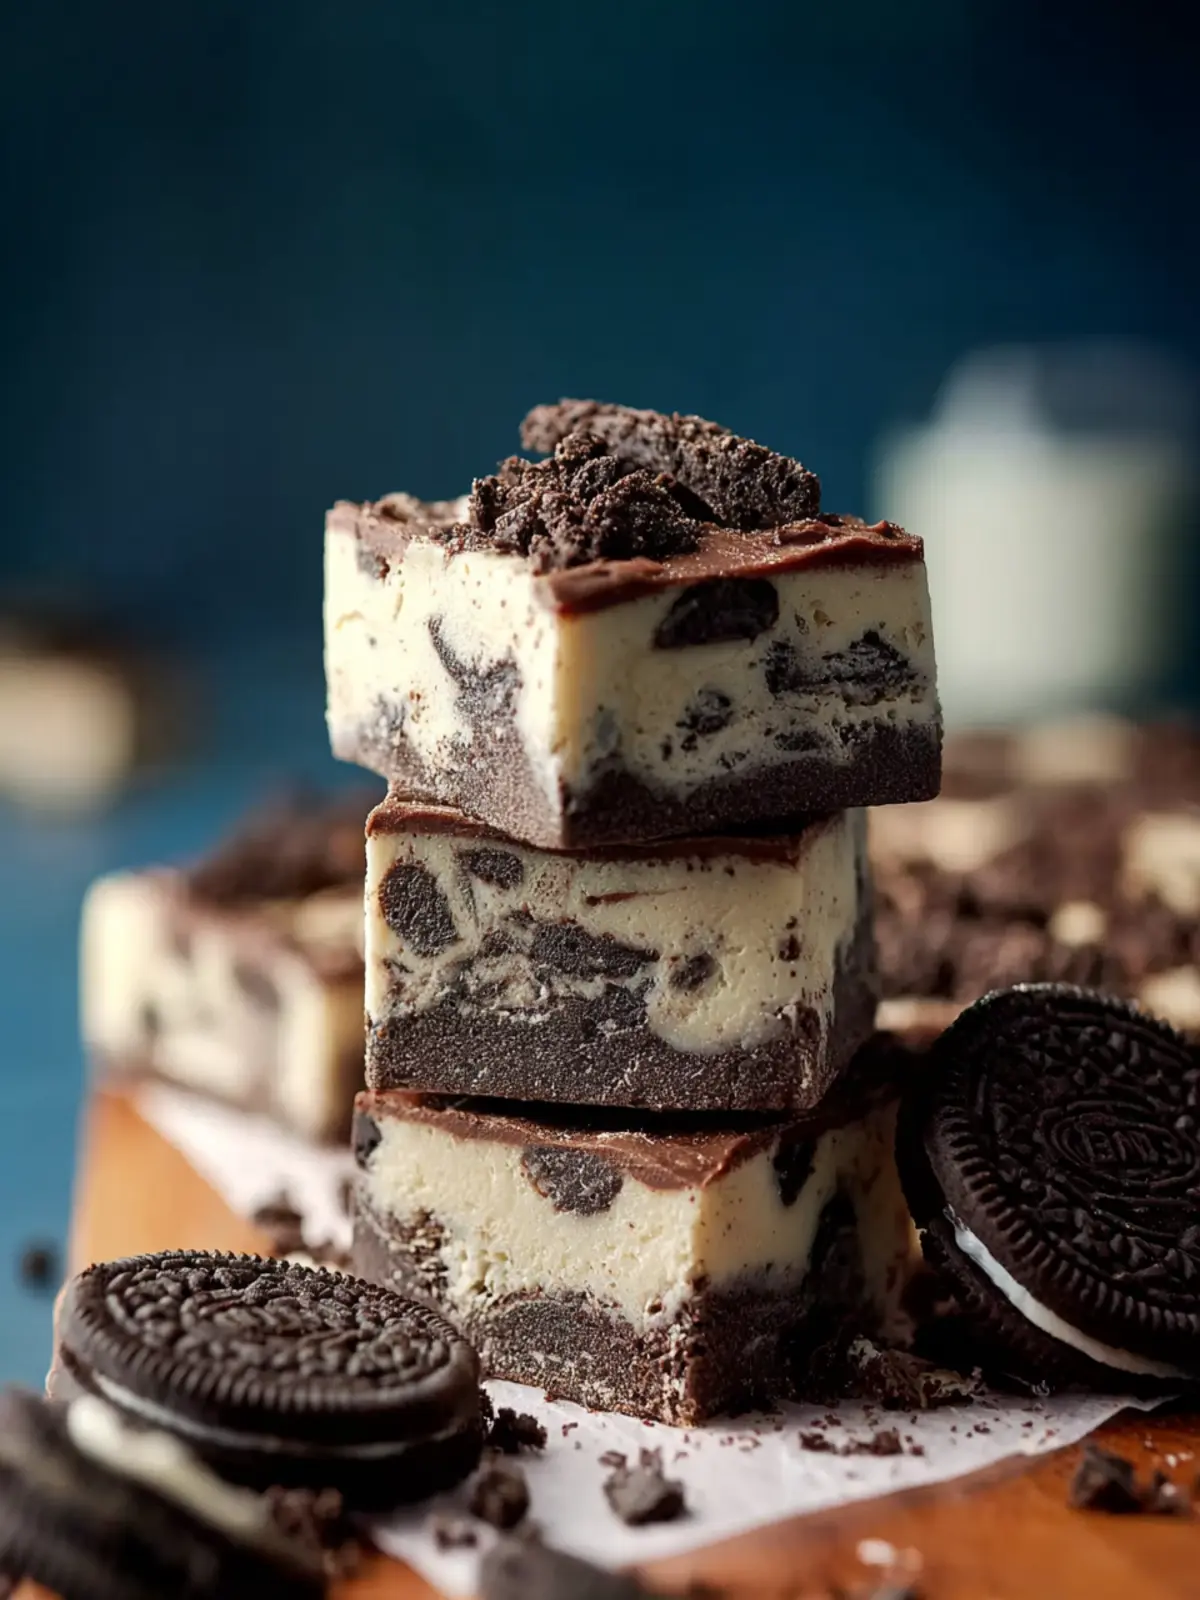
White Chocolate Chips: I love using white chocolate chips for that smooth, creamy consistency. They melt effortlessly, creating a delightful backdrop that complements the robust flavors of the Oreos. Each bite of this 3-ingredient Oreo fudge bursts with sweetness that satisfies any sweet tooth!
Oreo Cookies: The magical element of this recipe! Crushed Oreos add that delightful crunch and familiar flavor that transports you back to childhood. It’s no wonder this treat quickly becomes a family favorite, bringing everyone together for a little taste of nostalgia.
Why You’ll Love This 3-Ingredient Oreo Fudge
The moment you take a bite of this 3-ingredient Oreo fudge, you’ll be whisked away to cookie heaven. This simple yet decadent treat has a delightful creaminess that perfectly complements the crunch of Oreo. Ideal for those evenings when you crave something indulgent but don’t want to spend hours in the kitchen, this fudge is your ticket to sweet satisfaction.
-
Quick and Easy: With just three ingredients, you’ll whip this up in no time. That means more time for what you love—whether it’s binge-watching your favorite show or sharing a laugh with friends over coffee.
-
Versatile Treat: The beauty of 3-ingredient Oreo fudge lies in its adaptability. Enjoy it as a standalone dessert, use it as a topping, or even cut it into delightful shapes for parties. It’s a blank canvas for your creative flair!
-
Perfect for Gifting: Want to impress a friend with a homemade gift? This fudge is not only delicious but looks gorgeous wrapped up with a ribbon or in a cute jar.
In a world where culinary masterpieces often seem out of reach, this easy recipe ensures you can treat yourself to an exceptional dessert without breaking a sweat. Give it a try, and you’ll see why it has become a favorite!
Variations of 3-Ingredient Oreo Fudge
Experimenting with 3-ingredient Oreo fudge opens a delightful world of flavors and textures that can impress friends and satisfy your own sweet tooth. Don’t be afraid to customize this easy recipe to match your personal taste or to make it even more special for occasions.
Adding Nuts
Nuts can elevate your 3-ingredient Oreo fudge to a new level. Chopped walnuts or pecans add a fantastic crunch and nutty flavor that balances the creaminess of the fudge. Just fold in about half a cup of your preferred nuts into the melted chocolate and crushed Oreos, ensuring an even distribution. It’s a great way to add a bit more substance to this treat!
Swapping for Dark Chocolate
For a richer, more intense flavor, consider swapping in dark chocolate instead of the traditional milk chocolate. This simple change takes your 3-ingredient Oreo fudge to gourmet territory. Dark chocolate, especially with a cocoa content of 70% or higher, not only adds depth but also brings antioxidants to the mix. Just remember to keep an eye on the melting process as darker chocolate can seize up if overheated.
Incorporating Other Candy
Feel free to get wild and add in other candies to your fudge. Think crushed candy canes for a festive twist, or even peanut butter cups for a delightful surprise. Simply incorporate your candy of choice alongside the Oreos and watch as your 3-ingredient Oreo fudge transforms into a unique concoction that’s perfect for sharing—or keeping all to yourself!
Cooking Tips and Notes for 3-Ingredient Oreo Fudge
Creating the perfect 3-ingredient Oreo fudge is more than just mixing ingredients; it’s about understanding the nuances of texture and flavor. Let’s delve into some tips that will help you elevate your fudge-making game.
Achieving Perfect Consistency
To achieve that creamy, melt-in-your-mouth consistency for your 3-ingredient Oreo fudge, pay attention to the melting process. Use low heat when melting the chocolate to avoid burning, and continuously stir for a smooth mixture. If you find the fudge too thick, you might add a splash of milk to loosen it—just remember, less is more! Once it’s combined with crushed Oreos, let it cool before cutting; this resting period allows it to set properly.
Storing Your Fudge
Proper storage is key to maintaining flavor and freshness in your fudge. Once it’s completely cooled and set, cut it into squares. Store the fudge in an airtight container in the fridge to keep it firm and delicious. If you plan on indulging later, freezing the fudge is a great option. Just wrap each piece tightly in plastic wrap to prevent freezer burn.
Serving Size and Cutting
When it comes to serving the 3-ingredient Oreo fudge, think about how rich it is. A little goes a long way! Cut it into small squares, about an inch in size, for the perfect bite-sized treat. This will not only make serving easier but also help satisfy those sweet cravings without overwhelming your taste buds. Enjoy sharing this delightful confection with friends or saving a little for yourself!
With these tips, you’re well on your way to creating a fudge that dazzles the taste buds and impresses everyone who tries it. Happy cooking!
Serving Suggestions for 3-Ingredient Oreo Fudge
When it comes to indulging in a rich dessert, 3-ingredient Oreo fudge offers a delightful simplicity that can easily be dressed up for any occasion. Here are some fun and creative serving suggestions that will enhance your fudge experience.
Pairing with Ice Cream
Imagine a creamy scoop of vanilla or cookies and cream ice cream alongside your 3-ingredient Oreo fudge. The contrasting temperatures and textures create a delightful experience. You can even warm up the fudge slightly for a melty effect that pairs perfectly with the cold ice cream.
Presentation Ideas
Elevate your fudge game by cutting it into fun shapes using cookie cutters. Arrange the pieces on a colorful platter, and drizzle with melted chocolate for a visually appealing touch. Add crushed Oreos on top for extra flair and a nod to the key ingredient.
Special Occasions
Whether it’s a birthday party, holiday gathering, or a casual get-together, this fudge is always a hit. Consider wrapping some pieces in decorative cellophane with a ribbon for charming party favors. It’s a sweet treat that’s sure to spread joy!
Time Breakdown for Making 3-Ingredient Oreo Fudge
Creating the delectable 3-ingredient Oreo fudge is a delightful journey that won’t take much of your time. Perfect for busy young professionals, you can whip up this luscious treat without breaking a sweat.
Preparation Time
You’ll only need about 15 minutes to gather your ingredients and mix everything together. It’s as simple as crushing the Oreos and combining them with the fudge ingredients.
Setting Time
Once you’ve poured your mixture into the pan, let it set in the refrigerator for about 2 hours. This is essential for achieving that perfect fudge consistency.
Total Time
In just 2 hours and 15 minutes, you can have a batch of 3-ingredient Oreo fudge ready to share (or keep all to yourself). It’s that easy!
Nutritional Facts of 3-Ingredient Oreo Fudge
Indulging in 3-ingredient Oreo fudge is not just about its rich taste but also about understanding what you’re savoring. Let’s take a closer look at the nutritional profile of this delightful treat.
Calories
With each decadent piece containing approximately 120 calories, this fudge provides a sweet escape without vastly overshooting your daily intake.
Sugar Content
The sweetness comes primarily from the Oreos and sweetened condensed milk, contributing around 15 grams of sugar per serving. It’s the perfect dessert for those who love a sugary treat without going overboard.
Fat Content
The fudge features roughly 6 grams of fat per serving, primarily sourced from the condensed milk and Oreos. This gives it that creamy texture we all adore, making it a satisfying treat to enjoy in moderation.
Understanding these numbers can help you enjoy your 3-ingredient Oreo fudge even more, striking the right balance between indulgence and mindfulness!
FAQs about 3-Ingredient Oreo Fudge
Crafting 3-ingredient Oreo fudge is not only simple but also offers some common questions to help you make the most of this delightful treat. Here, we tackle your burning inquiries for a fuss-free fudge-making experience.
Can I make this fudge dairy-free?
Absolutely! To enjoy your 3-ingredient Oreo fudge without dairy, simply swap regular cream cheese for a dairy-free cream cheese alternative. Also, make sure to choose Oreo cookies that don’t contain any dairy ingredients, as some variations may include milk products. With just these few adjustments, your fudge will be completely dairy-free, while still delivering that rich and creamy sensation!
How long does the fudge last?
Once prepared, your 3-ingredient Oreo fudge can be stored in an airtight container at room temperature for about a week. If you want to extend its life, consider refrigerating it, where it can last up to two weeks. Just remember to cut it into squares first for easy snacking! If you’re anything like me and it’s hard to resist decadent treats, you might find it vanishing even sooner.
What if I don’t have a pan?
If a pan isn’t available, don’t fret! You can use a baking dish or even a foil-lined baking sheet to create your fudge. Just make sure the sides are high enough to hold all that luscious fudge without spilling over. If you’re feeling adventurous, pouring the mixture into silicone molds can give you fun shapes and easy portioning. As long as it holds the fudge, you’re good to go!
This fudge is all about creative solutions—so get ready to enjoy those delicious bites!
Conclusion on 3-Ingredient Oreo Fudge
The 3-ingredient Oreo fudge is not just an easy treat; it’s a delightful experience that brings a taste of nostalgia to your kitchen. With its creamy texture and irresistible chocolate flavor, it has a way of making any occasion feel special. As you dive into this treat, consider personalizing it with your favorite toppings or even gifting a batch to a friend. The mix of simplicity and mouthwatering goodness in every bite is sure to make this fudge a recurring favorite in your home. So grab those ingredients and get ready to savor a dessert that’s as fun to make as it is to enjoy!
Print
Oreo White Chocolate Bars
- Total Time: 1-2 hours
- Yield: 16 servings 1x
- Diet: Vegetarian
Description
Delicious and easy-to-make Oreo White Chocolate Bars with a creamy filling.
Ingredients
Scale
- 1 can (14 oz) sweetened condensed milk
- 1 package (12 oz) white chocolate chips
- 24 Oreo cookies, divided
Instructions
- Line an 8×8-inch (or larger) baking pan with parchment paper, leaving some paper hanging on two sides.
- Add 20 Oreo cookies to a ziplock bag and crush them using a rolling pin.
- In a saucepan, combine sweetened condensed milk and white chocolate chips. Heat over low heat until melted and combined, stirring constantly.
- Remove the saucepan from the heat and stir in the crushed Oreo cookies.
- Transfer the mixture to the prepared baking pan and decorate with the remaining 4 broken Oreo cookies on top.
- Cover with plastic wrap and refrigerate until set, about 1-2 hours.
- Once set, remove from the refrigerator, lift out of the pan, cut into squares, and enjoy!
Notes
- Make sure to let the bars cool completely before cutting.
- Store leftovers in an airtight container in the refrigerator.
- Prep Time: 15 minutes
- Cook Time: 10 minutes
- Category: Dessert
- Method: No-Bake
- Cuisine: American
Nutrition
- Serving Size: 1 square
- Calories: 150
- Sugar: 12g
- Sodium: 50mg
- Fat: 8g
- Saturated Fat: 5g
- Unsaturated Fat: 2g
- Trans Fat: 0g
- Carbohydrates: 18g
- Fiber: 0g
- Protein: 2g
- Cholesterol: 10mg